It all started on a rainy Saturday when I was desperately scrolling through Instagram, trying to find a dessert that could out‑shine the gloom outside. My phone kept flashing pictures of cupcakes that looked like tiny works of art, but none of them promised the kind of indulgence that makes you forget the weather entirely. I dared my roommate to a “who can create the most over‑the‑top dessert” challenge, and the loser would have to wear a ridiculous hat for the entire day. I was already halfway through the challenge when the idea hit me like a bolt of caramel‑laden lightning: a towering, multi‑layered cookies‑and‑cream cheesecake that would literally rise from the plate like a sweet skyscraper.
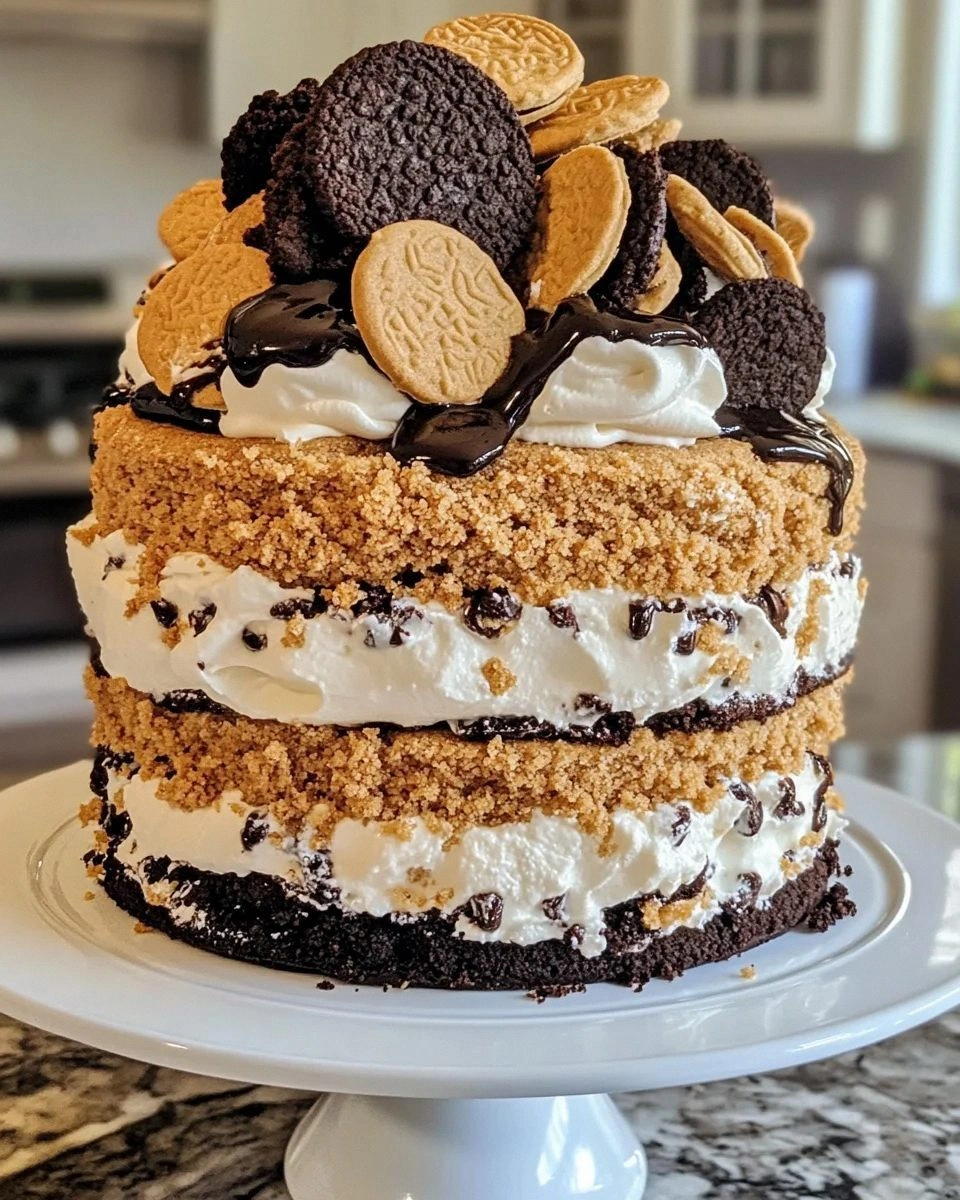
Picture this: a golden‑brown crust made from crushed chocolate sandwich cookies, pressed into a buttery base that cracks just enough to give you that satisfying crunch. On top of that, a silky, airy cheesecake that’s been folded with generous chunks of the same cookies, creating pockets of chocolate‑cream bliss that melt in your mouth. The whole thing is crowned with a cloud of lightly sweetened whipped cream, drizzled with glossy chocolate ganache that glistens like a midnight sky. The aroma alone—rich butter, toasted cookie crumbs, and a hint of vanilla—fills the kitchen and makes the whole house feel like a bakery on a sugar‑high.
Most cheesecake recipes either skimp on texture or drown you in a sea of one‑note flavor. This version, however, is a masterclass in balance: the crust provides a firm, buttery foundation, the filling offers a light yet decadent bite, and the toppings add that final pop of contrast without overwhelming the palate. I’ll be honest — I ate half the batch before anyone else got a chance to try it, and that’s a confession I’m not ashamed to make because the flavor is that addictive. I dare you to taste this and not go back for seconds; your taste buds will file a formal complaint for being denied further enjoyment.
There’s a secret technique hidden in this recipe that most people overlook: a quick‑cool water bath that guarantees a crack‑free surface and a custard‑smooth interior. Most recipes get this completely wrong, resulting in a cracked, uneven top that looks more like a construction site than a dessert masterpiece. This method? Pure magic. Let me walk you through every single step — by the end, you’ll wonder how you ever made it any other way.
What Makes This Version Stand Out
- Flavor Explosion: The combination of classic cookies‑and‑cream with a hint of vanilla and chocolate ganache creates layers of taste that evolve with each bite, keeping you hooked from start to finish.
- Texture Symphony: Crunchy crust, creamy filling, and airy whipped topping dance together, offering a contrast that feels both familiar and surprising.
- Simplicity Meets Sophistication: Despite its impressive appearance, the recipe uses pantry‑friendly ingredients and straightforward techniques that anyone can master.
- Unique Swirl Technique: Folding in whole cookie pieces and creating a marble‑like swirl adds visual drama and bursts of chocolate in every forkful.
- Crowd‑Pleaser Factor: Whether it’s a birthday, a dinner party, or a casual get‑together, this tower steals the spotlight and sparks endless compliments.
- Ingredient Quality: Using premium cream cheese and real Oreo cookies (not the generic chocolate wafers) elevates the overall taste profile dramatically.
- Water‑Bath Baking: This gentle cooking method prevents cracks and ensures a silky texture that rivals any professional bakery.
- Make‑Ahead Potential: The cheesecake can be assembled a day ahead, allowing flavors to meld while you focus on other party prep.
Inside the Ingredient List
The Flavor Base
Oreo cookie crumbs (2 cups): These form the buttery crust that anchors the entire tower. The chocolate‑cream filling in the cookies adds depth, while the sweet cream side contributes a subtle vanilla undertone. If you skip them, you’ll lose the signature cookies‑and‑cream flavor that defines this dessert. For a gluten‑free twist, substitute with gluten‑free chocolate wafer crumbs.
The Texture Crew
Cream cheese (24 oz, softened): The star of the show, providing a rich, velvety body. Using full‑fat cream cheese ensures the filling stays firm enough to hold its shape when sliced. Low‑fat versions can make the cheesecake watery and prone to cracking. Choose a brand that’s been refrigerated for at least an hour before use for optimal softness.
Granulated sugar (1 cup): Sweetens the filling without adding any unwanted texture. If you prefer a less sweet profile, you can cut back to 3/4 cup, but the balance with the chocolate cookies might feel off. For a caramel note, try swapping half the sugar for brown sugar.
Sour cream (1 cup): Adds a tangy brightness that cuts through the richness, keeping the palate refreshed. Skipping it results in a denser, overly sweet cheesecake. If you’re out of sour cream, Greek yogurt works as a 1:1 substitute, though the flavor will be slightly milder.
The Unexpected Star
Heavy cream (1/2 cup): Incorporates into the filling for extra silkiness and helps achieve that melt‑in‑your‑mouth mouthfeel. Without it, the cheesecake can feel a bit grainy. For a lighter version, you can replace half with low‑fat milk, but you’ll lose some of that luxurious texture.
Crushed Oreo cookies (1 cup): Folded into the batter, these create delightful pockets of crunch that burst with chocolate‑cream flavor. If you omit them, you’ll miss the signature “cookies‑in‑the‑cheesecake” experience. For a twist, try using chocolate chip cookies or even pretzel pieces for a salty contrast.
The Final Flourish
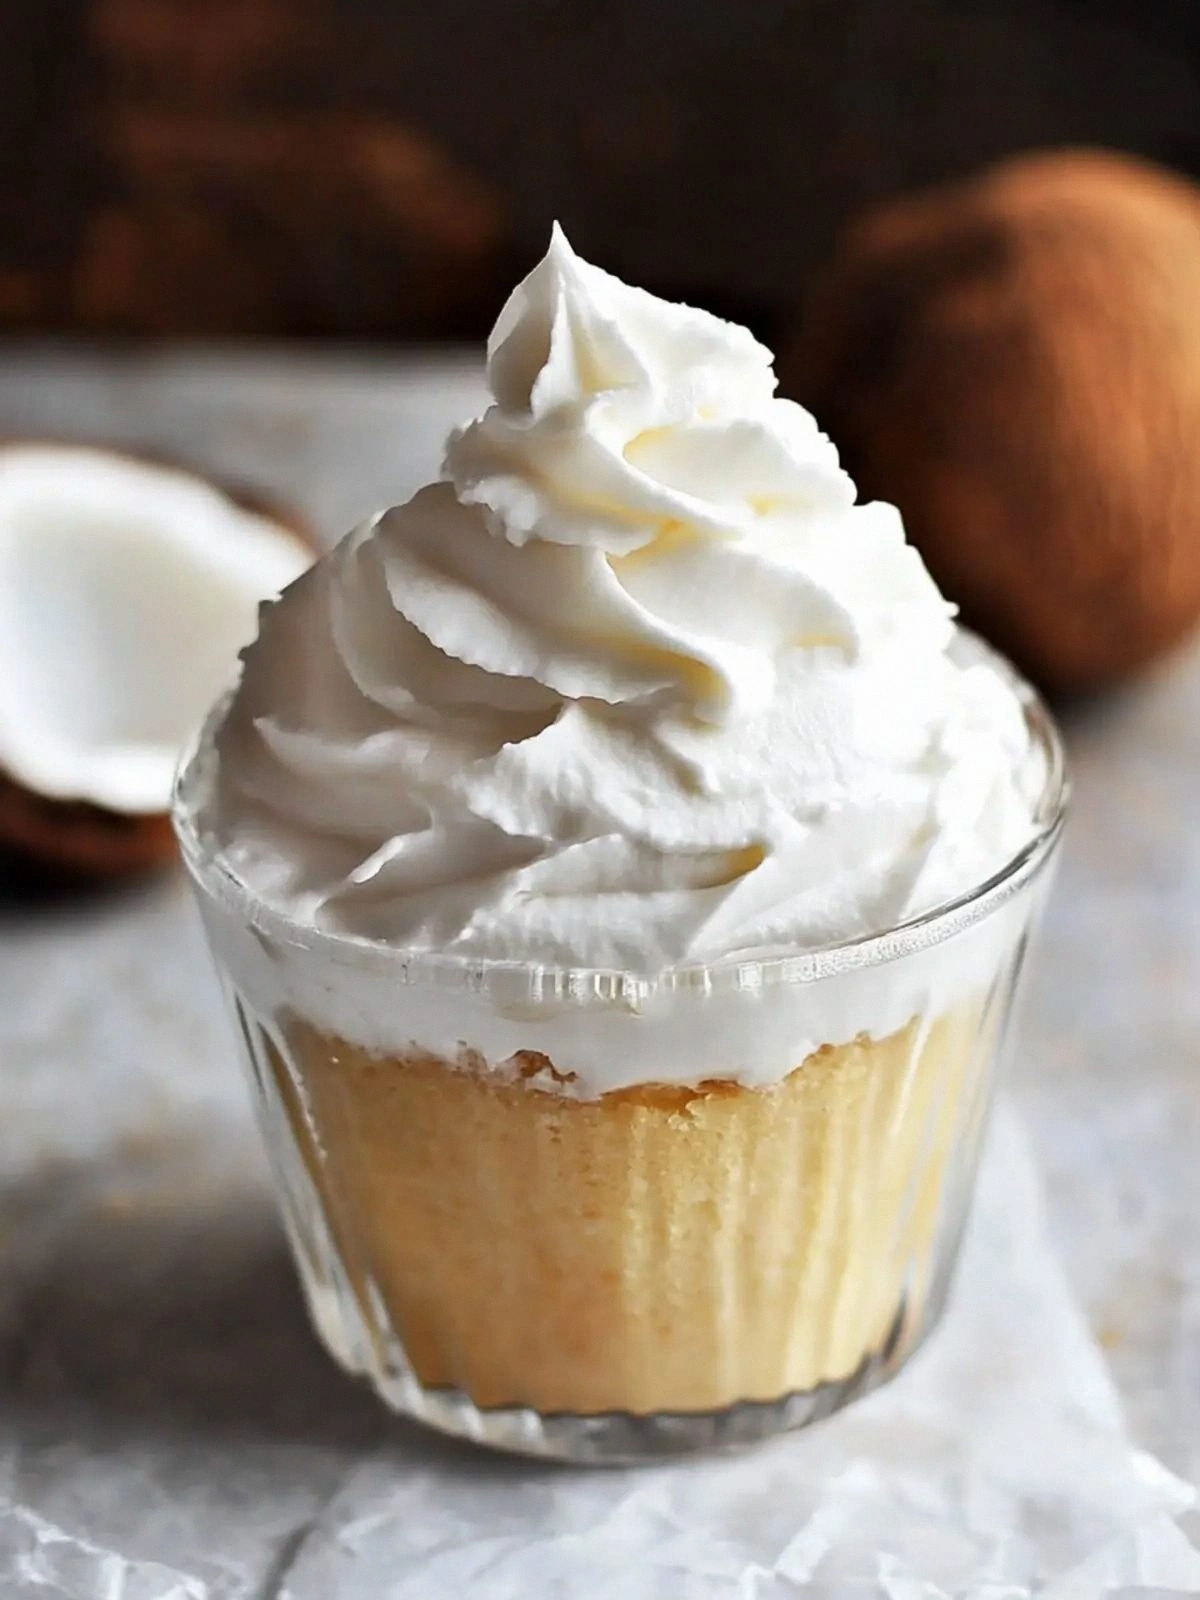
Whipped cream (1 cup): Serves as the airy crown, adding lightness that balances the dense layers below. Skipping it makes the tower feel heavy and less celebratory. For a dairy‑free version, whip chilled coconut cream with a touch of powdered sugar.
Chocolate ganache (2 tbsp): Drizzled over the top, it provides a glossy finish and an extra hit of chocolate decadence. Without it, the tower still shines, but the visual impact is reduced. You can substitute with a simple melted dark chocolate or a caramel drizzle.
Unsalted butter (1/2 cup, melted): Binds the crust crumbs together, ensuring a firm base that doesn’t crumble when you slice. Using salted butter can throw off the delicate balance, so keep it unsalted.
Vanilla extract (2 tsp): Enhances the overall flavor profile, giving the filling a warm, aromatic backdrop. A good-quality pure vanilla is worth the extra pennies; imitation can taste flat.
Salt (a pinch): Just enough to amplify the sweetness and deepen the chocolate notes. Too much will make the cheesecake taste salty, so a pinch is all you need.
Everything's prepped? Good. Let’s get into the real action…
The Method — Step by Step
Preheat your oven to 325°F (163°C). While the oven warms, line the bottom of two 9‑inch springform pans with parchment paper and lightly grease the sides. This step ensures the cheesecake releases cleanly later on, preventing any frustrating tug‑of‑war with the pan.
Kitchen Hack: Lightly spray the parchment with non‑stick spray before placing it in the pan; this creates a barrier that makes unmolding a breeze.In a large bowl, combine the 2 cups of Oreo cookie crumbs with the melted butter. Stir until the mixture resembles wet sand, then press it firmly into the bottom of each springform pan, creating an even ¼‑inch crust. Use the back of a measuring cup to smooth the surface; you’ll notice the crust starts to hold its shape like a solid foundation.
Watch Out: Over‑mixing the crust can make it soggy. Stop as soon as the crumbs are uniformly coated with butter.Bake the crusts for 8‑10 minutes, just until they set and develop a faint golden hue. This pre‑bake step creates a barrier that prevents the crust from getting soggy when the filling is added. When you pull the pans out, the crust should feel firm to the touch, like a well‑pressed cookie base.
While the crust cools, beat the softened cream cheese in a stand mixer on medium speed until it’s silky smooth, about 2 minutes. Scrape down the sides to ensure no lumps remain; the texture at this stage is crucial because any graininess will be magnified in the final tower.
Add the granulated sugar to the cream cheese and continue beating until the mixture is light and fluffy, resembling a cloud that’s about to burst. The sugar dissolves, and you’ll notice the mixture becoming glossy—this is the point where the cheesecake starts to develop its characteristic silkiness.
Incorporate the sour cream, heavy cream, vanilla extract, and a pinch of salt. Mix on low until just combined; over‑mixing can incorporate too much air, leading to cracks later on. The batter should have a glossy, pourable consistency—think of a thick milkshake that holds its shape when you lift the whisk.
One at a time, add the eggs, beating on low speed for just a few seconds after each addition. The eggs bind the filling, and you’ll notice the batter turning a richer, slightly thicker hue. At this stage, gently fold in the 1 cup of crushed Oreo cookies, distributing them evenly without over‑stirring.
Divide the batter evenly between the two prepared crusts. Using the back of a spoon, create a marble swirl by dragging a thin spatula in a figure‑eight pattern across the surface. This creates those gorgeous veins of cookie chunks that peek through the creamy layer, giving the tower its signature visual drama.
Kitchen Hack: Place the filled pans on a baking sheet and add a pan of hot water to the oven, creating a steam bath that prevents the top from cracking.Cover each pan loosely with aluminum foil and place them in the preheated oven. Bake for 45‑55 minutes, or until the edges are set but the center still has a slight wobble—think of a gently trembling jelly. The water bath will keep the temperature gentle, ensuring a smooth, crack‑free surface.
Turn off the oven, crack the door open just a crack, and let the cheesecakes cool inside for an hour. This gradual cooling prevents sudden temperature changes that cause cracks. Afterward, refrigerate the cakes for at least 4 hours, preferably overnight, to allow the layers to firm up.
When you’re ready to assemble, carefully remove the sides of the springform pans. Place one cheesecake layer on a serving platter, spread a thin layer of whipped cream over the top, then gently stack the second layer on top. Finish by piping a generous rosette of whipped cream around the tower, and drizzle the chocolate ganache in an elegant cascade.
That's it — you did it. But hold on, I've got a few more tricks that'll take this to another level…
Insider Tricks for Flawless Results
The Temperature Rule Nobody Follows
Never bake a cheesecake straight from the fridge. Let the filling sit at room temperature for 20‑30 minutes before mixing. This ensures the cream cheese integrates smoothly, preventing lumps that can turn into unsightly pockets after baking. I once tried skipping this step and ended up with a cheesecake that felt like biting into a grainy biscuit—definitely a lesson learned.
Why Your Nose Knows Best
During the water‑bath bake, trust the aroma more than the clock. When the edges start smelling toasty and the surface releases a faint caramel scent, you’re near the perfect doneness. Over‑baking can dry out the interior, making it crumbly rather than creamy. Keep a timer handy, but let your nose be the final judge.
The 5‑Minute Rest That Changes Everything
After the cheesecake has cooled in the oven, give it an extra five minutes of rest on the counter before moving it to the fridge. This short pause lets the structure set a bit more, reducing the risk of cracks when you unmold it. A friend once rushed this step and ended up with a cracked tower that looked like a broken skyscraper—don’t be that person.
Water‑Bath Mastery
Wrap the bottom of each springform pan in a double layer of heavy‑duty foil before placing it in the water bath. This prevents water from seeping into the crust, which would otherwise make the base soggy. The foil also adds a little extra insulation, keeping the heat gentle and even.
Whipped Cream Perfection
Chill the mixing bowl and whisk attachment for at least 15 minutes before whipping the cream. Cold tools create a more stable foam, allowing you to achieve stiff peaks without over‑whipping. If you over‑whip, the cream turns buttery and loses its airy texture—something you definitely don’t want on a delicate tower.
Creative Twists and Variations
This recipe is a playground. Here are some of my favorite ways to switch things up:
Salted Caramel Swirl
Replace the chocolate ganache with a silky salted caramel drizzle. The sweet‑and‑salty combo adds a sophisticated edge that pairs beautifully with the cookies‑and‑cream base. Garnish with a pinch of flaky sea salt for that extra pop.
White Chocolate Raspberry
Swap half of the crushed Oreo cookies for freeze‑dried raspberry pieces and drizzle white chocolate over the top. The tartness of the berries cuts through the richness, creating a refreshing contrast perfect for spring gatherings.
Matcha Green Tea
Incorporate 2 teaspoons of matcha powder into the filling for an earthy, slightly bitter note that balances the sweet cookies. Top with a dusting of matcha powder and a drizzle of white chocolate for a visually striking, Japanese‑inspired tower.
Nutty Crunch
Fold in toasted chopped hazelnuts or almonds alongside the Oreo crumbs. The added nutty crunch introduces a new texture dimension, and a light sprinkle of toasted nuts on top adds visual appeal.
Vegan Delight
Replace the cream cheese with a high‑quality vegan cream cheese, use coconut cream instead of heavy cream, and swap the butter crust for a coconut oil version. The result is a plant‑based tower that still delivers the same indulgent experience.
Storing and Bringing It Back to Life
Fridge Storage
Cover the assembled tower loosely with plastic wrap and store it in the refrigerator for up to 4 days. The whipped cream topping may soften, but a quick re‑whip before serving restores its airy texture.
Freezer Friendly
Freeze individual slices in airtight containers for up to 2 months. When you’re ready to serve, transfer a slice to the fridge for 2‑3 hours, then let it sit at room temperature for 15 minutes. This prevents the texture from becoming icy.
Best Reheating Method
To revive the tower after refrigeration, place a slice on a microwave‑safe plate, add a tiny splash of water (about a teaspoon), and heat for 10‑15 seconds. The steam generated re‑hydrates the crumbly parts, bringing the cheesecake back to its original velvety glory.