
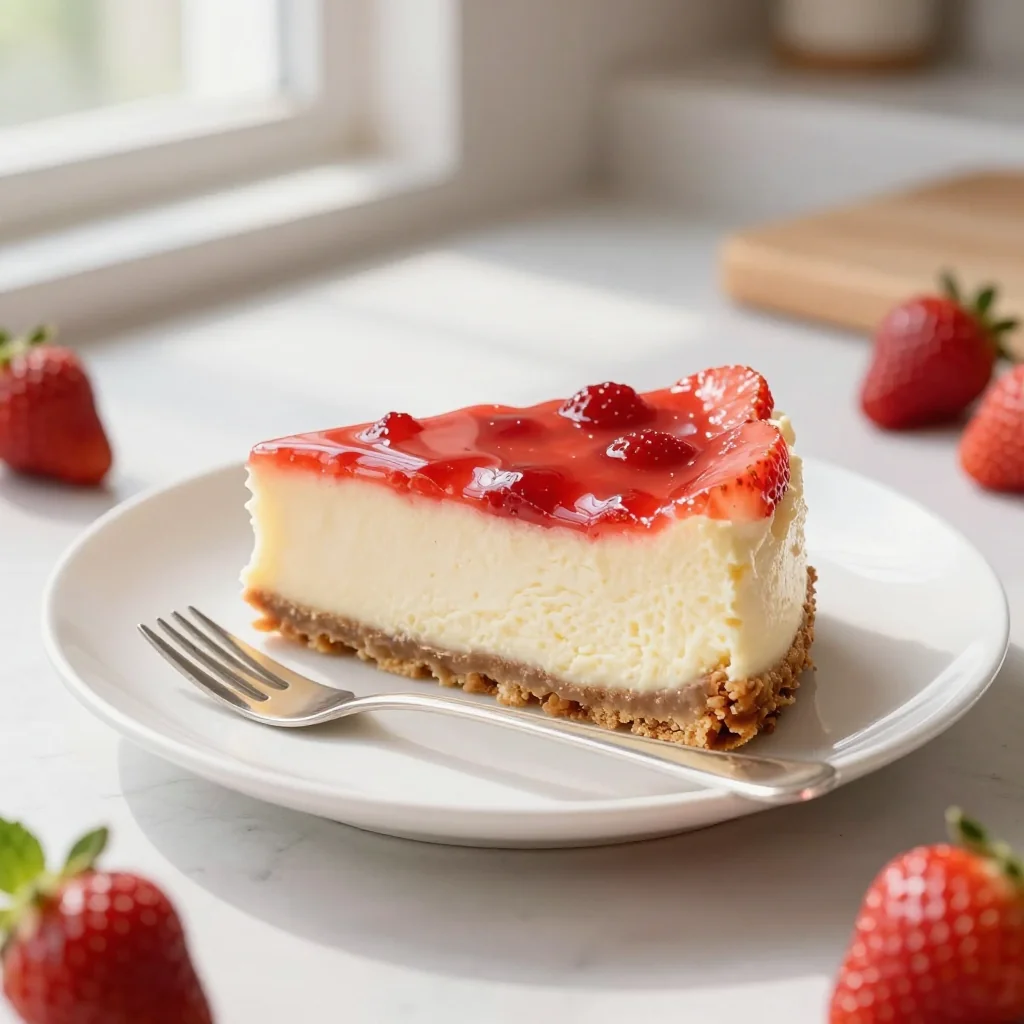
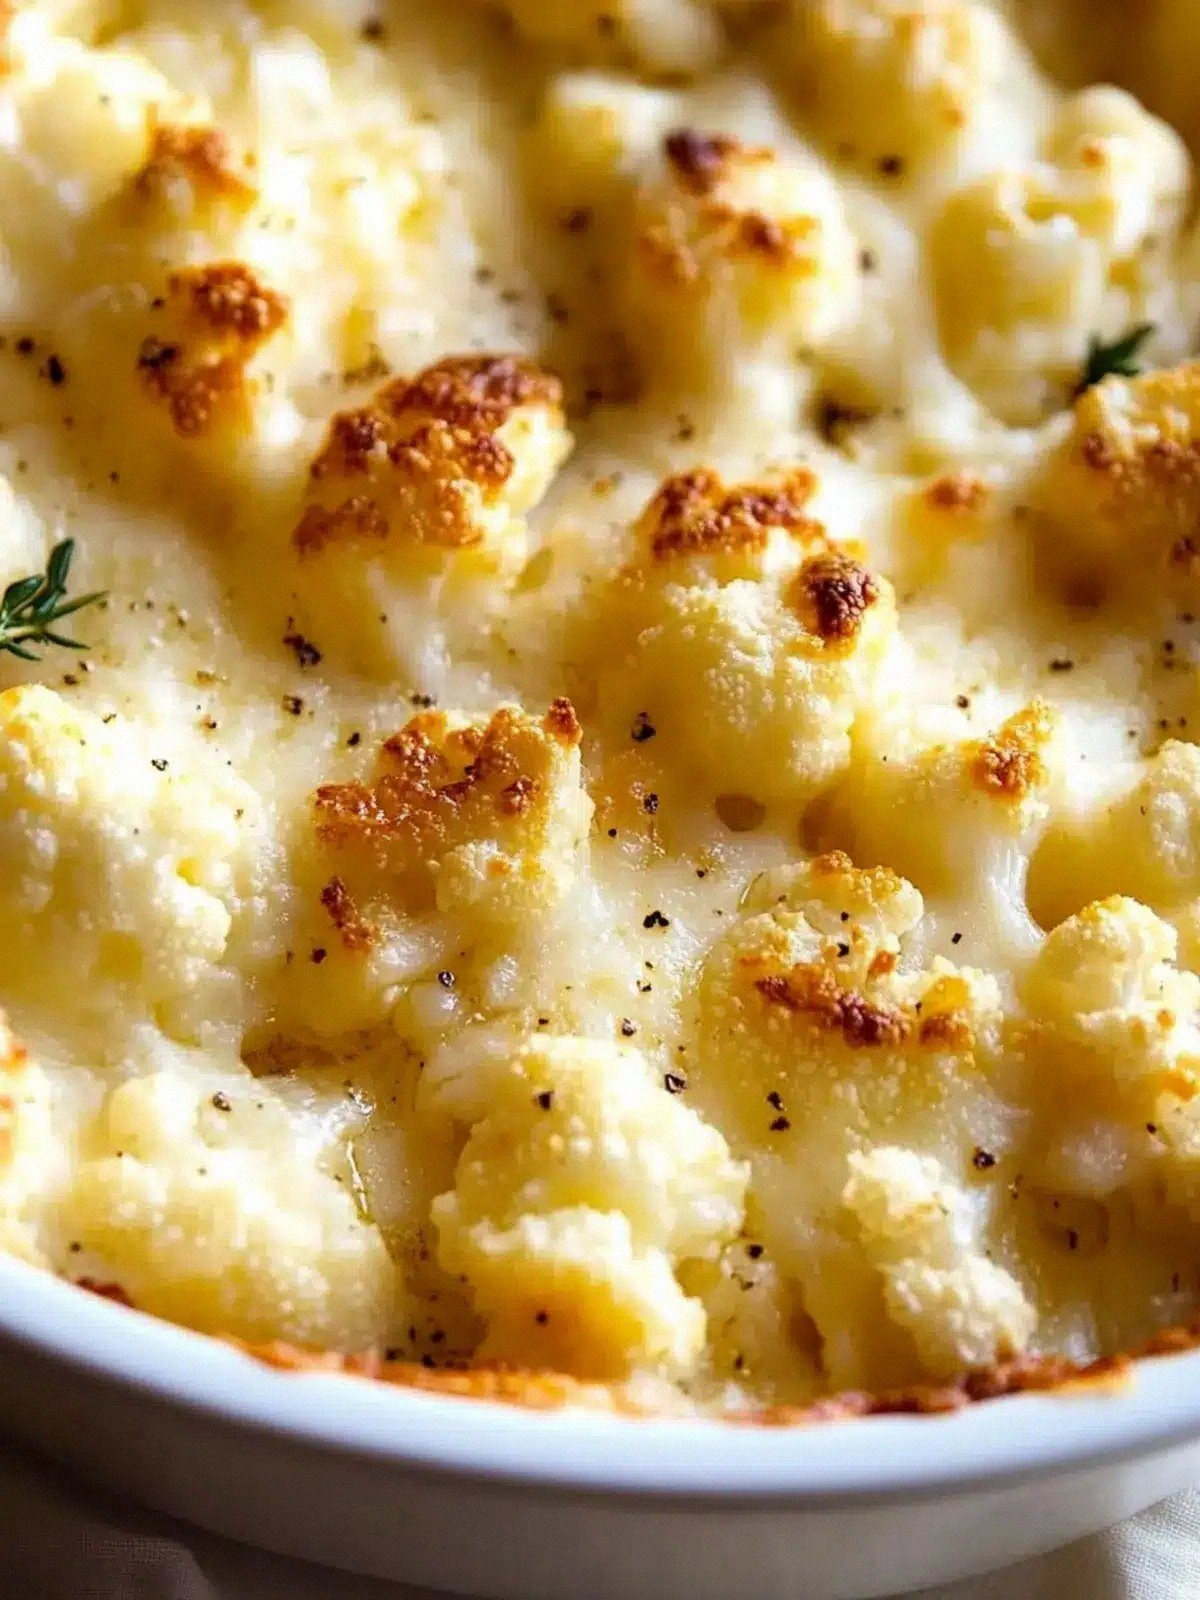
A luscious, velvety cheesecake crowned with fresh strawberries and a buttery graham cracker crust.
There’s something magical about the first bite of a perfectly balanced cheesecake – the creamy tang of the cheese, the sweet burst of strawberries, and the buttery crunch of a graham cracker crust all dancing together. I first discovered this harmony at a family gathering when my aunt unveiled a strawberry cheesecake that seemed to melt on the tongue while the crust added just the right amount of texture. The memory of that bright pink topping glistening under the summer sun still makes my mouth water.
Strawberry cheesecake has its roots in classic American desserts, borrowing the smoothness of New York‑style cheesecake and pairing it with the universally loved strawberry topping. The graham crust adds a nostalgic nod to traditional pie bases, making this dish both familiar and elevated.
In this article, I’ll walk you through every nuance of this recipe: from selecting the freshest strawberries to mastering a crack‑free bake, and even how to adapt the dessert for different dietary needs. By the end, you’ll have a reliable, show‑stopping cheesecake that feels as effortless as it looks.
Let’s get started, and I promise you’ll be serving a masterpiece that impresses every palate at your next gathering.
Why This Recipe Will Captivate You
From texture to flavor, this cheesecake checks every box for a memorable dessert experience.
- Perfect Balance of Sweet and Tangy: The cream cheese provides a rich, buttery base while the strawberry glaze adds a bright, natural acidity that cuts through the richness.
- No‑Crack Baking Technique: By using a water bath and gentle cooling, the cheesecake stays smooth and glossy without the dreaded cracks.
- Versatile Presentation: Whether you serve it in a springform pan, individual ramekins, or as mini cupcakes, the recipe scales effortlessly.
- Simple Ingredients, Gourmet Results: With pantry staples like graham crackers and cream cheese, you can create a dessert that feels restaurant‑worthy.
- Seasonal Flexibility: Fresh strawberries in summer, frozen berries in winter, or even a mixed‑berry version – the topping adapts to any season.
- Crowd‑Pleasing Appeal: Its classic flavor profile satisfies both kids and adults, making it ideal for birthdays, holidays, or casual brunches.
Ingredients
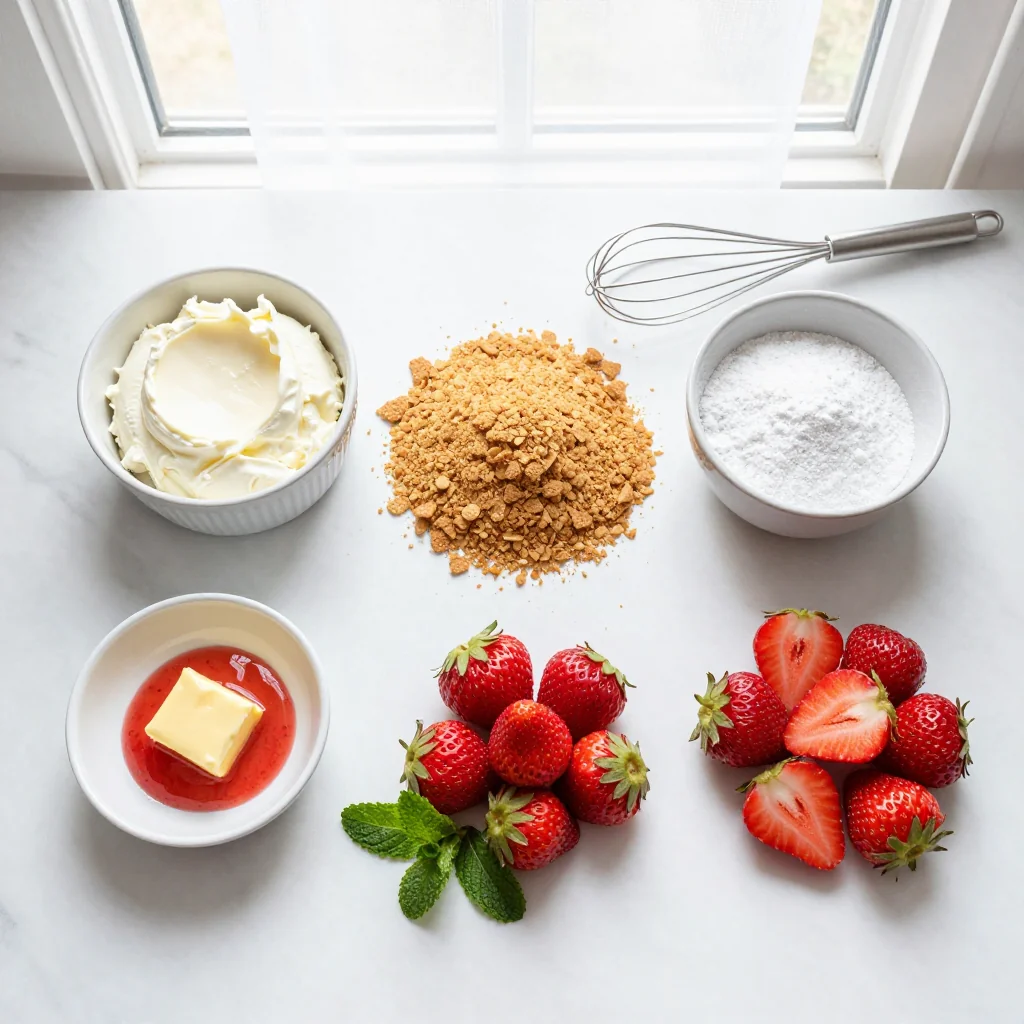
Complete Ingredient List
For the Graham Crust:
- 200 g graham crackers, finely crushed
- 100 g unsalted butter, melted
- 2 tbsp granulated sugar
For the Cheesecake Filling:
- 600 g cream cheese, softened
- 150 g granulated sugar
- 200 g sour cream
- 3 large eggs
- 1 tsp vanilla extract
- 1 tbsp lemon juice
For the Strawberry Topping:
- 400 g fresh strawberries, sliced
- 50 g granulated sugar
- 1 tbsp cornstarch
- 2 tbsp water
Focus on Key Ingredients
Cream Cheese
Cream cheese is the heart of any cheesecake. Opt for a full‑fat variety; it yields a richer mouthfeel and helps prevent a grainy texture. Let it sit at room temperature for at least 30 minutes before mixing – this ensures a smooth, lump‑free batter.
Graham Crackers
Graham crackers provide a slightly sweet, honey‑laden crunch that contrasts the silky filling. For a deeper flavor, you can toast the crushed crackers briefly before mixing with butter; this adds a subtle toasted note that elevates the crust.
Fresh Strawberries
Strawberries bring natural acidity and a burst of color. Choose berries that are plump, bright red, and free of green tops. If using frozen strawberries, thaw them completely and pat dry to avoid excess water in the glaze.
Quick Substitutions
| If you don’t have... | Use instead... |
|---|---|
| Graham crackers | Digestive biscuits (crushed) |
| Cream cheese | Neufchâtel cheese (slightly lower fat) |
| Fresh strawberries | Frozen strawberries (thawed) |
Step‑by‑Step Instructions
Follow these detailed steps to create a flawless cheesecake from crust to topping.
Phase 1: Preparation & Mise en Place
Gather all ingredients, preheat your oven, and prepare the crust.
Prepare the Graham Crust
Place the graham crackers in a zip‑top bag and crush them with a rolling pin until fine. Transfer to a mixing bowl, add melted butter and sugar, and stir until the mixture resembles wet sand. Press the mixture evenly into the bottom of a 23‑cm (9‑inch) springform pan, using the back of a spoon to smooth the surface. Chill the crust in the freezer for 10 minutes while you prepare the filling.
Blend the Cream Cheese Base
In a large stand mixer fitted with the paddle attachment, beat the softened cream cheese on medium speed for 2‑3 minutes until smooth and creamy. Gradually add the granulated sugar, continuing to beat for another 2 minutes. Scrape down the sides of the bowl to ensure even mixing.
Phase 2: Baking & Assembly
Combine, bake, and create the strawberry glaze.
Incorporate Eggs and Flavorings
Add the eggs one at a time, beating on low speed after each addition to avoid over‑mixing. Mix in vanilla extract and lemon juice, then gently fold in the sour cream until the batter is homogenous and glossy. Avoid whipping air into the mixture; a gentle hand keeps the texture dense and smooth.
Prepare the Water Bath
Wrap the bottom of the springform pan with a double layer of heavy‑duty aluminum foil to prevent water from seeping in. Place the pan inside a larger roasting pan, then pour hot water into the outer pan until it reaches halfway up the sides of the springform pan.
Bake the Cheesecake
Preheat the oven to 160 °C (325 °F). Slide the water‑bath setup onto the middle rack and bake for 45‑50 minutes, or until the edges are set and the center still has a slight wobble. Turn off the oven, crack the door slightly, and let the cheesecake cool inside for 1 hour – this gradual cooling prevents sudden temperature changes that cause cracks.
Make the Strawberry Glaze
In a saucepan, combine sliced strawberries, sugar, and water. Cook over medium heat, stirring occasionally, until the strawberries release their juices. Dissolve cornstarch in a tablespoon of cold water, then stir it into the simmering mixture. Cook for another 2‑3 minutes until the glaze thickens and becomes glossy. Remove from heat and let cool slightly.
Phase 3: Finishing & Serving
Cool, chill, and plate your masterpiece.
Cool and Chill
After the oven cool‑down, run a thin knife around the edge of the cheesecake to release any cling, then remove the springform side. Transfer the cheesecake to the refrigerator and chill for at least 4 hours, preferably overnight, to allow the flavors to meld and the texture to set firmly.
Apply the Strawberry Topping
Pour the cooled strawberry glaze over the chilled cheesecake, spreading gently with a spatula to cover the surface evenly. Let the glaze set for 10 minutes before slicing.
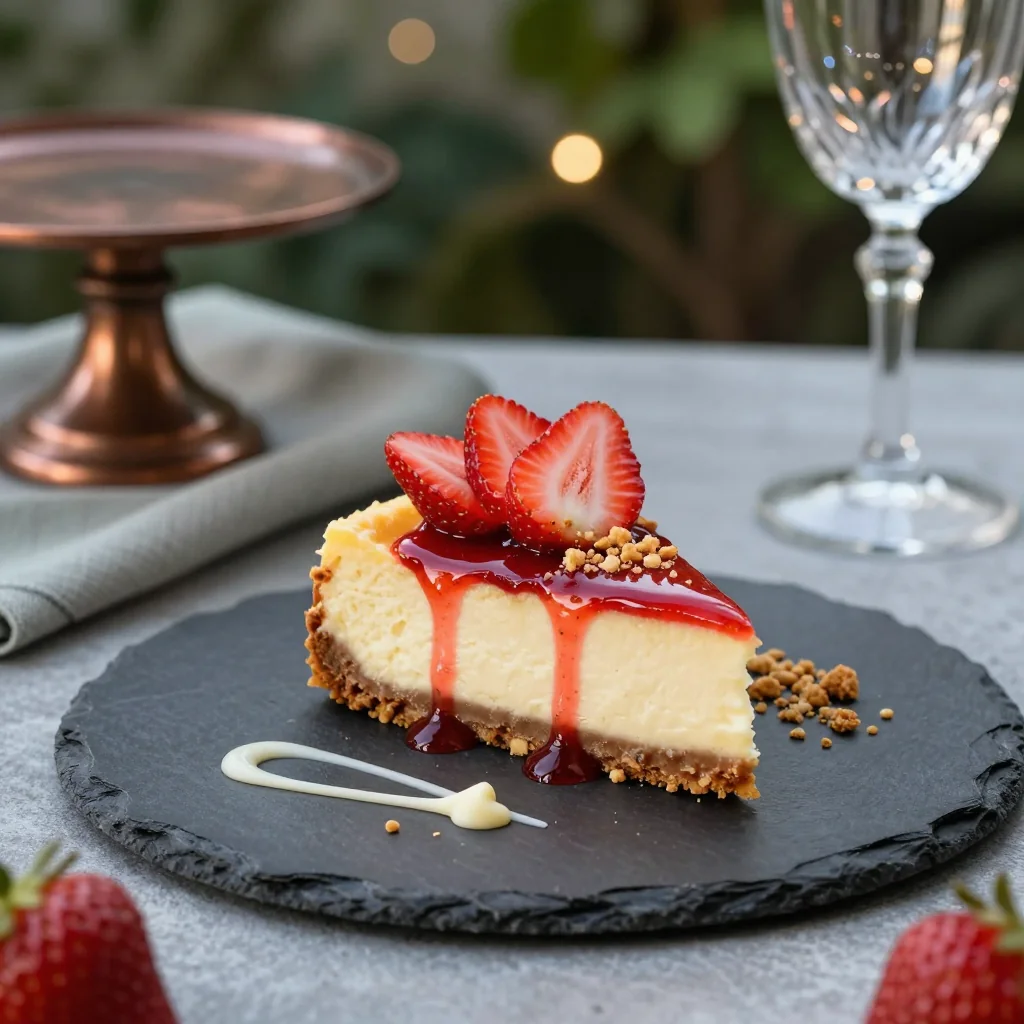
Slice and Garnish
Using a hot, wet knife (dip and wipe between cuts), slice the cheesecake into eight equal portions. Garnish each slice with a fresh strawberry half and a sprig of mint for a pop of color.
Serve
Present the cheesecake on a chilled platter, accompanied by a dollop of whipped cream if desired. Pair with a glass of chilled rosé or a sparkling water with a slice of lemon for a refreshing finish.
Expert Tips & Tricks
Choosing the Right Ingredients
Always buy full‑fat cream cheese; low‑fat versions can become watery and grainy when baked. Look for graham crackers that list real honey or molasses for a deeper flavor. When selecting strawberries, avoid any with white or green spots—these indicate under‑ripeness, which can lead to a bland topping.
Preparation Techniques
When crushing graham crackers, a food processor yields a finer texture, but a zip‑top bag and rolling pin work just as well and give you more control. For the batter, use a hand‑held mixer on low speed to blend the eggs gently; this reduces air incorporation.
Mastering the Baking Process
Never open the oven door during the first 30 minutes of baking; the sudden temperature change can cause cracks. The water bath is essential—if you don’t have a roasting pan, a large, deep baking dish filled with hot water works similarly.
Presentation & Service
To achieve clean slices, dip a sharp knife in hot water, wipe dry, and cut. Wipe the blade after each slice to prevent sticking. Adding a light dusting of powdered sugar just before serving adds an elegant finishing touch.
Pro Secrets
Professional chefs rely on precision, technique, and a few hidden tricks to elevate a simple cheesecake into a show‑stopper.
- Use a Lightly Oiled Springform Pan: Brushing the interior with a thin layer of neutral‑flavored oil prevents the crust from sticking, making removal effortless and preserving the crust’s integrity.
- Double‑Whisk the Egg Mixture: Whisking the eggs separately before adding them to the batter ensures they are fully incorporated without over‑mixing the cheese, which maintains a velvety texture.
- Chill the Crust Before Baking: A cold crust sets faster when the hot batter is poured over it, reducing the risk of a soggy base.
- Add a Pinch of Salt to the Filling: Salt balances the sweetness and accentuates the tang of the cream cheese, creating a more complex flavor profile.
- Finish with a Light Caramelized Strawberry Layer: Lightly broil the strawberry glaze for 1‑2 minutes after it’s set on the cheesecake; the caramelization adds a subtle smoky note.
- Store the Cheesecake Uncovered in the Fridge: Covering with plastic can trap moisture, making the crust soggy. Use a cake dome or a large plate to keep it safe.
"A great cheesecake is a balance of science and art; respect the temperature, and the flavors will sing." — Dominique Crenn
Variations & Adaptations
This cheesecake is a flexible canvas—tweak it to match dietary needs, flavor cravings, or seasonal produce.
Vegetarian / Vegan Version
Swap the cream cheese for a vegan cream cheese alternative (e.g., almond‑based) and replace the butter in the crust with coconut oil. Use maple syrup instead of granulated sugar for a deeper flavor. The texture remains creamy, and the graham crust stays buttery.
- Vegan cream cheese (250 g) – provides the same tang.
- Coconut oil (100 g) – creates a crisp, dairy‑free crust.
Flavor Variations
Explore different taste directions by adjusting the topping or adding spices to the filling.
Spicy Raspberry Twist:
Replace half of the strawberries with raspberries and add a pinch of cayenne pepper to the glaze for a subtle heat that contrasts the sweetness.
Mediterranean Olive & Lemon:
Infuse the crust with finely chopped Kalamata olives and a zest of lemon; serve with a drizzle of honey‑rosemary syrup for a savory‑sweet experience.
Asian Matcha Fusion:
Stir 1 tsp of matcha powder into the cheesecake batter and top with a mango‑passionfruit coulis for an exotic twist.
Dietary Adaptations
Gluten‑Free:
Use gluten‑free graham crackers or substitute with a blend of almond flour and oat flour (2 parts almond, 1 part oat) for the crust.
Lactose‑Free:
Replace cream cheese with lactose‑free cream cheese and use a plant‑based butter (e.g., Earth Balance) in the crust.
Low‑Calorie:
Reduce sugar in the glaze by 30 % and use Greek yogurt (non‑fat) in place of sour cream to cut calories while maintaining creaminess.
Kid‑Friendly Version
For picky eaters, blend the strawberry topping into a smooth puree, swirl it gently into the cheesecake before baking, and top with colorful sprinkles. The familiar flavors and fun presentation make it a hit with children.
Storage & Reheating
Conservation
Refrigerator:
- Duration: 5 days
- Recommended container: airtight cake dome or sealed plastic container
- Tip: Place a sheet of parchment paper directly on the surface to prevent moisture buildup.
Freezer:
- Duration: 2 months
- Method: Wrap the entire springform pan tightly in plastic wrap, then in aluminum foil.
- Defrosting: Transfer to the refrigerator overnight, then let sit at room temperature for 30 minutes before serving.
For best texture, avoid refreezing once thawed; the crust may become soggy.
Reheating
Oven (Recommended):
- Preheat to 150 °C (300 °F).
- Cover the cheesecake loosely with aluminum foil.
- Heat for 10‑12 minutes, or until the topping is just warmed through.
- Remove foil and heat an additional 2 minutes for a lightly caramelized glaze.
Microwave (Quick):
- Place a slice on a microwave‑safe plate.
- Cover with a microwave‑safe lid.
- Heat on medium power for 30‑45 seconds.
- Check and heat an additional 10 seconds if needed.
Skillet:
For a single slice, warm in a non‑stick skillet over low heat, covered, for 2‑3 minutes, flipping once. This method preserves the crust’s crunch.
Perfect Pairings
Side Dishes
- Mixed Green Salad with Citrus Vinaigrette: The acidity balances the richness of the cheesecake.
- Lightly Sweetened Yogurt Parfait: Adds a creamy contrast without overpowering the main dessert.
- Fresh Fruit Platter: Offers a palate‑cleansing burst between bites.
Wine & Beverage Pairings
- Rosé (dry, chilled): Its crisp fruit notes echo the strawberries while cutting through the creaminess.
- Moscato d'Asti: Lightly sparkling and sweet, it enhances the dessert’s fruitiness.
- Non‑alcoholic: Sparkling elderflower water with a twist of lemon adds elegance without alcohol.
Complementary Courses
Start the meal with a light lemon‑herb soup or a crisp arugula salad. Follow the cheesecake with a palate‑cleaning espresso or a small scoop of vanilla bean ice cream for an indulgent finale.
Frequently Asked Questions
Q: Can I use a different size pan?
A: Yes, you can use a 20‑cm (8‑inch) pan, but you’ll need to reduce the ingredient quantities by roughly 20 %. Adjust the baking time slightly—check for the same gentle wobble in the center.
Q: Why does my cheesecake crack?
A: Cracks often result from over‑mixing, rapid temperature changes, or baking at too high a temperature. Using a water bath, gentle mixing, and gradual cooling prevents most cracks.
Q: How can I make the crust gluten‑free?
A: Substitute the graham crackers with a blend of gluten‑free oat flour, almond flour, and a touch of honey. Press the mixture firmly and bake for 8 minutes before adding the filling.
Q: Is it okay to freeze the cheesecake with the topping?
A: Yes, you can freeze the whole cheesecake. However, for best texture, apply the strawberry glaze after thawing; the glaze may become watery if frozen.
Q: Can I replace sour cream with Greek yogurt?
A: Absolutely. Greek yogurt provides similar tang and a slightly lower fat content. Use the same amount (200 g) and ensure it’s full‑fat for a creamier result.
Q: How far in advance can I prepare the cheesecake?
A: The cheesecake can be baked up to two days ahead. Keep it refrigerated, covered, and add the fresh strawberry topping just before serving to maintain freshness.
Let’s Get Baking!
This Strawberry Cheesecake with Graham Crust brings together the comforting richness of classic cheesecake with the bright, summery sparkle of fresh strawberries. By following the precise steps, you’ll avoid common pitfalls like cracks and soggy crusts, ensuring a flawless, glossy finish every time. The recipe’s flexibility allows you to tailor it to dietary needs or flavor cravings, making it a reliable go‑to for any occasion.
Give it a try, share your photos, and let us know how you customized the recipe. Your feedback helps the community grow, and we love seeing your beautiful creations!
Have you tried this recipe?
Leave a comment and rating below! Share your photos on Instagram with #StrawberryCheesecakeDream to be featured.
Strawberry Cheesecake with Graham Crust
A velvety cheesecake topped with fresh strawberry glaze and a buttery graham cracker crust.
Ingredients
Graham Crust
Cheesecake Filling
Strawberry Topping
Instructions
- 1 Prepare the graham crust as described in the main instructions and chill.
- 2 Blend cream cheese, sugar, and sour cream until smooth.
- 3 Incorporate eggs, vanilla, and lemon juice gently.
- 4 Pour batter onto chilled crust, set in a water bath.
- 5 Bake for 45‑50 minutes, then cool gradually.
- 6 Prepare strawberry glaze while cheesecake cools.
- 7 Chill the cheesecake for at least 4 hours.
- 8 Top with glaze, garnish, slice, and serve.
- 9 Store leftovers according to the storage guide.
- 10 Enjoy and share with loved ones!
Nutritional Information (per serving)
*Values are estimates based on standard ingredient brands.
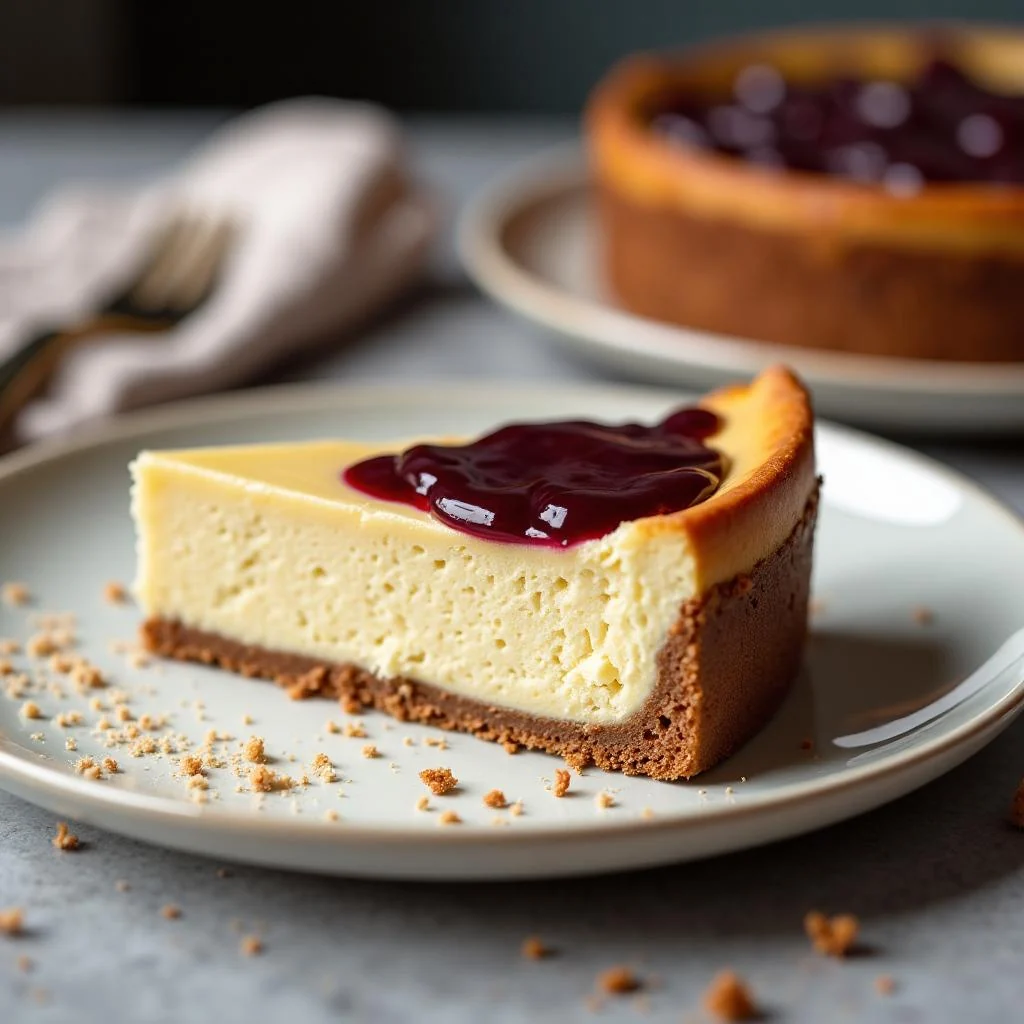
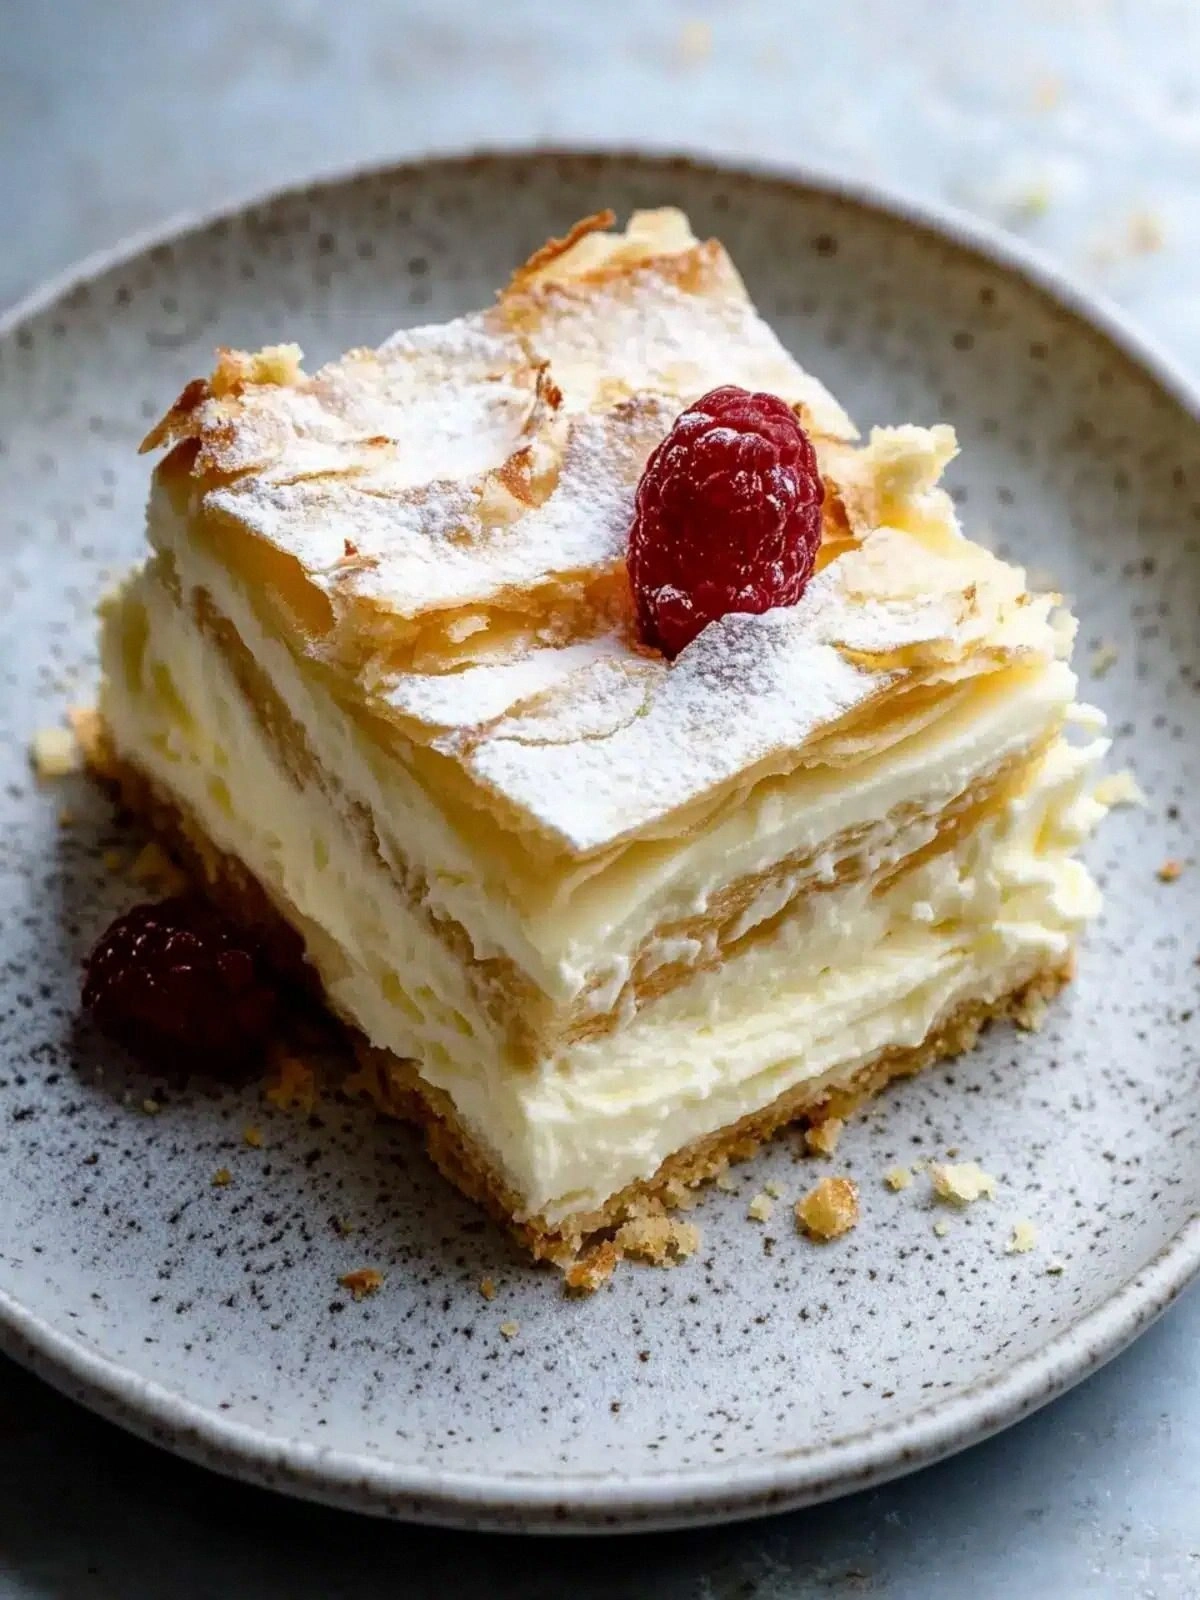
You Might Also Like

Blueberry Lemon Cheesecake

Chocolate Oreo Cheesecake

Mango Coconut Cheesecake


Comments & Reviews
Leave a Comment
[Comments will appear here]