Okay, picture this: it’s the night before a big Fourth of July gathering, the grill is already humming, the playlist is set to “All‑American Classics,” and you realize you’ve got nothing to satisfy the sweet‑tooth crowd except a sad bowl of plain store‑bought cookies. I was there, staring at a box of Oreo packs like they were the last lifeboats on a sea of blandness. My friends were daring each other to bite into the most patriotic snack imaginable, and I thought, “Why not turn those humble sandwich cookies into a red‑white‑blue masterpiece that practically screams celebration?”
I grabbed a handful of Oreos, a bag of white chocolate chips, and a splash of red and blue candy melts, and what happened next was nothing short of culinary fireworks. The kitchen filled with the sweet scent of melting chocolate, a glossy sheen that caught the kitchen lights like tiny mirrors, and a faint crackle as the chocolate met the cool air. My hands were sticky, my heart was pounding, and the first dip was a glorious mess that turned into a perfectly smooth coating within seconds. That moment, when the chocolate hugged the cookie like a silky blanket, was pure magic.
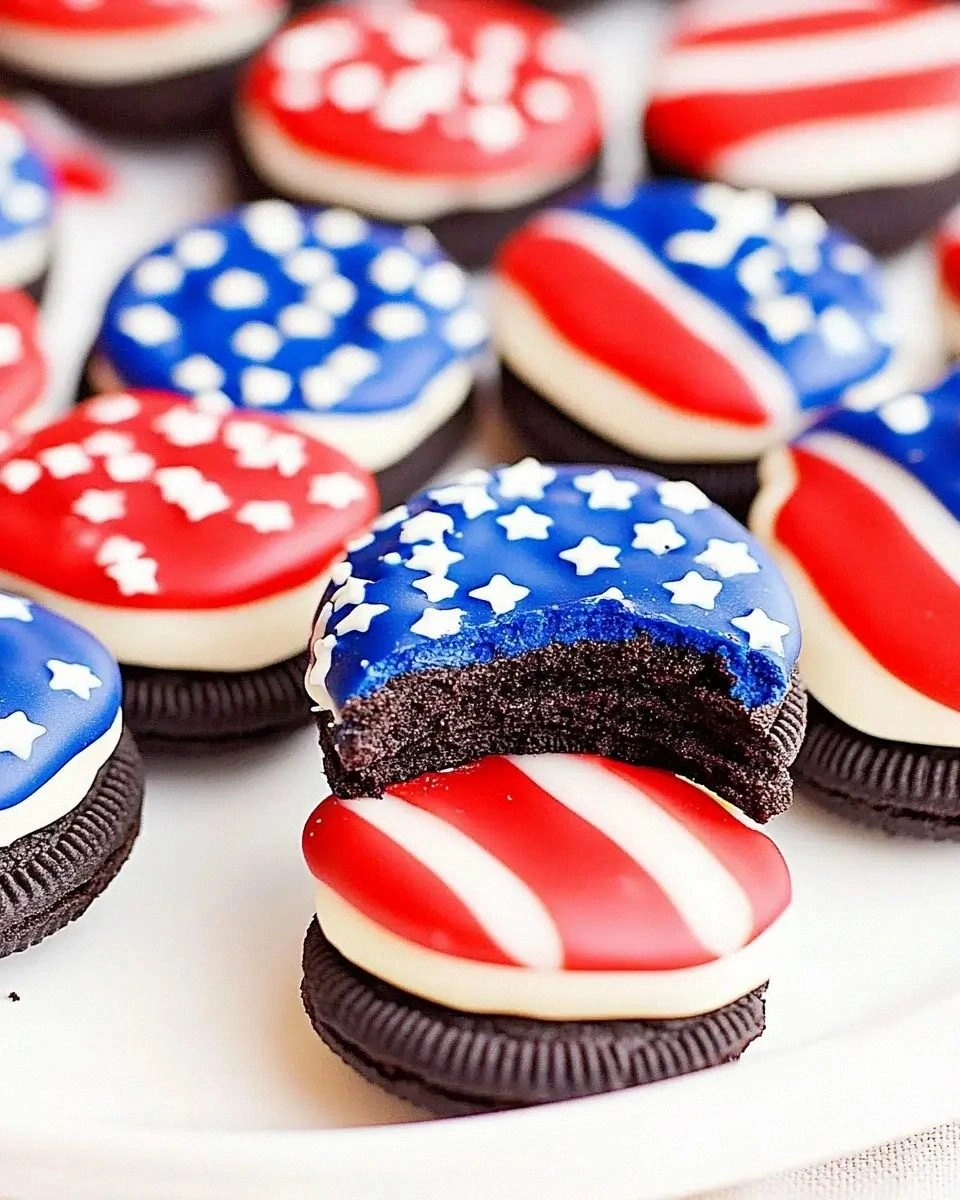
Most recipes for patriotic Oreos either drown them in a cloying flood of candy coating or leave them half‑dipped, looking like a toddler’s art project. This version, however, hits the sweet spot: a crisp white chocolate shell that snaps on the first bite, a burst of red and blue sparkle that pops against the dark cookie, and just enough sprinkle crunch to make each bite sing. I dare you to taste this and not go back for seconds; the combination of flavors and textures is so addictive that you’ll be the hero of every potluck, backyard BBQ, or movie night.
But here’s the kicker: I’m about to reveal a secret technique that most “easy” recipes skip entirely—the oil‑infused melt that keeps the chocolate glossy and prevents it from hardening into a brittle shell. This tiny addition turns a simple dip into a glossy, snap‑ready coating that stays smooth even after you set the cookies on the counter for an hour. Let me walk you through every single step — by the end, you’ll wonder how you ever made it any other way.
What Makes This Version Stand Out
- Flavor Explosion: The blend of creamy white chocolate with vibrant red and blue candy melts creates a taste that’s both familiar and fireworks‑worthy, delivering a sweet‑tart balance that makes your taste buds do a happy dance.
- Texture Triumph: Each Oreo gets a crisp, glass‑like shell that cracks delightfully, while the sprinkle topping adds a satisfying crunch that contrasts the soft cookie interior.
- Simplicity Meets Wow: You only need six ingredients and a microwave, no fancy tempering or fancy equipment—perfect for a last‑minute party prep.
- Visual Impact: The patriotic colors are bold, bright, and Instagram‑ready, turning a simple snack into a centerpiece that draws compliments before the first bite.
- Crowd Reaction: I’ve watched grown‑ups and kids alike gasp, grin, and immediately reach for another—this isn’t just a treat, it’s a conversation starter.
- Ingredient Quality: Using real white chocolate chips instead of cheap coating gives a richer mouthfeel and a smoother melt, while the candy melts add that perfect glossy finish.
- Make‑Ahead Potential: Once dipped, the cookies keep their snap for days in an airtight container, so you can prep them ahead of time and still wow the crowd.
- Versatile Base: The same technique works with other sandwich cookies, pretzels, or even fruit slices—making this a flexible platform for endless snack experiments.
Inside the Ingredient List
The Flavor Base
The star of the show is the 12 oz of white chocolate chips. Unlike generic white coating, these chips melt into a buttery, velvety sauce that clings to the Oreo without becoming grainy. If you skip this and use a cheaper “candy coating,” you’ll end up with a waxy texture that feels like chewing on a plastic wrapper. For the best melt, choose a brand with real cocoa butter; it’s the secret that gives that luxurious snap. If you’re allergic to dairy, you can swap for a vegan white chocolate, but expect a slightly different flavor profile.
The Texture Crew
Next up, the 1 tablespoon of vegetable oil. This tiny addition is a game‑changer; it thins the chocolate just enough to coat evenly while keeping the final shell glossy and flexible. Forget the oil and you’ll get a thick, crusty layer that cracks unevenly and looks dull. The oil also helps the candy melts blend smoothly, preventing those dreaded streaks of red or blue that ruin the aesthetic. If you’re watching calories, you can replace half the oil with a neutral‑flavored melted coconut oil—just be aware it adds a faint coconut note.
The Unexpected Star
The 1 oz each of red and blue candy melts bring the patriotic punch. These melts are formulated to stay glossy at room temperature, unlike regular chocolate that can develop a bloom. They also melt at a lower temperature, which means you won’t over‑heat your white chocolate base. If you can’t find candy melts, substitute with high‑quality white chocolate tinted with food‑grade coloring, but expect a slightly less glossy finish. Pro tip: keep the candy melts in a sealed bag until you’re ready to melt them—exposure to air can cause them to harden prematurely.
The Final Flourish
Finally, the sprinkles—your decorative finish. They add a pop of color, a subtle crunch, and a playful texture that elevates the cookie from “dessert” to “celebration.” Choose non‑metallic, sugar‑based sprinkles for a cleaner melt; metallic confetti can cause the chocolate to seize. If you want an extra flavor twist, try adding a pinch of sea salt with the sprinkles for a sweet‑salty contrast that makes the chocolate sing.
Everything's prepped? Good. Let's get into the real action…
The Method — Step by Step
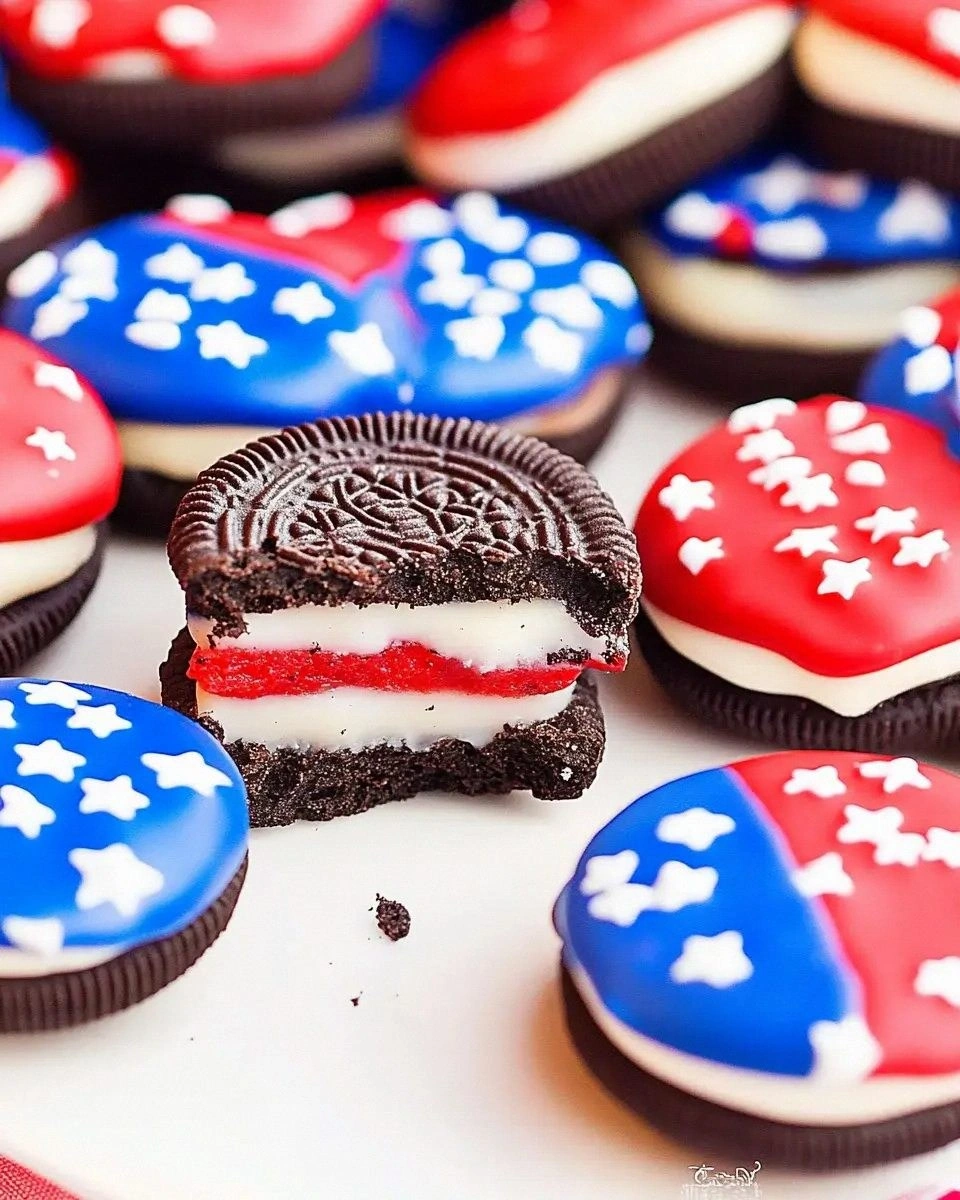
Start by separating the Oreo cookies. Gently twist each cookie to split the cream from the chocolate wafer. You’ll notice the cream is already a light beige; set it aside because we’re only dipping the wafer halves. This step is crucial—if you try to dip the whole cookie, the cream will melt and ruin the snap. I recommend laying the halves on a parchment‑lined baking sheet so they don’t stick.
Grab a large microwave‑safe bowl and add the 12 oz white chocolate chips plus the tablespoon of vegetable oil. Microwave in 30‑second bursts, stirring between each burst, until the mixture is smooth and glossy. The aroma at this point is like walking into a boutique chocolate shop—pure, buttery, and intoxicating. Power transition: Okay, ready for the game‑changer? This is where the oil works its magic, keeping the chocolate from thickening too fast.
Kitchen Hack: If the chocolate looks too thick, add a few drops of neutral oil and stir; it will instantly become pour‑ready.While the white chocolate is still warm, split the red and blue candy melts into two separate small bowls. Microwave each for about 15 seconds, stirring until fully liquefied. The colors should be vivid—like a sunrise over the Pacific for the red and a clear summer sky for the blue. If you notice any lumps, keep microwaving in 5‑second intervals; candy melts love a gentle, steady heat.
Now comes the fun part: swirling. Using a small spoon, drizzle a thin line of red melt across the white chocolate, then a line of blue melt. With a clean toothpick, swirl them together just enough to create a marbled effect without fully mixing the colors. This creates a subtle, rainbow‑kissed coating that looks spectacular once the cookies are dipped.
Dip each Oreo wafer half into the white chocolate base, letting the excess drip back into the bowl. Then, using a fork, give it a quick dip into either the red or blue melt—alternating colors for a true patriotic pattern. The moment the chocolate touches the cookie, you’ll hear a faint “sizzle” as the cool wafer meets the warm coating—a sound that signals a perfect snap later on. This next part? Pure magic.
Watch Out: Don’t overload the cookie with chocolate; a thin, even layer prevents sogginess and keeps the snap crisp.Immediately after the dip, roll the coated side in a generous handful of sprinkles. Press lightly so they adhere before the chocolate sets. The sprinkles should cling like tiny fireworks, creating a burst of color that catches the light. If you’re using larger confetti, give them a gentle tap to remove excess—too much can weigh the cookie down and cause it to sag.
Place the finished cookies back onto the parchment sheet, spacing them a few centimeters apart. Let them sit at room temperature for about 15 minutes, or pop them in the fridge for 5 minutes if you’re in a hurry. The chocolate will firm up to a glossy, crack‑ready shell. While waiting, I like to clean up the kitchen—trust me, the smell of chocolate makes chores feel like a celebration.
Once set, transfer the cookies to an airtight container. Store them in a cool, dry place; they’ll stay crisp for up to three days. If you notice any soft spots, a quick flash in the microwave (10 seconds) will re‑crisp the coating. And there you have it—patriotic Oreos that are as tasty as they are eye‑catching.
That’s it — you did it. But hold on, I’ve got a few more tricks that’ll take this to another level. From a secret glaze that adds extra shine to a quick garnish that makes each bite pop, stay with me here — this is worth it.
Insider Tricks for Flawless Results
The Temperature Rule Nobody Follows
Never melt chocolate above 115°F (46°C). Going hotter makes the cocoa butter separate, resulting in a dull, grainy finish. I keep a kitchen thermometer on hand and pull the bowl out of the microwave as soon as it’s smooth and glossy. This low‑heat approach preserves the chocolate’s natural snap and prevents bloom, which is that white, powdery film that can appear when chocolate is overheated.
Why Your Nose Knows Best
Your sense of smell is a reliable indicator of doneness. When the white chocolate starts to emit a nutty, buttery aroma, you’re at the perfect melting point. If you rely solely on time, you might over‑heat and lose that silky texture. Trust the nose, and you’ll always get a glossy, snap‑ready coating.
The 5‑Minute Rest That Changes Everything
After dipping, let the cookies rest undisturbed for five minutes before adding sprinkles. This brief pause lets the chocolate set just enough to hold the sprinkles without them sinking. I once rushed this step and ended up with a soggy sprinkle layer that fell off during transport—a lesson learned the hard way.
The Double‑Dip Technique
For an extra glossy finish, dip each cookie twice: first in the white base, let it set for 30 seconds, then give it a quick second dip. The second coat seals in the first, creating a mirror‑like surface that catches the light beautifully. This is the secret I use for catering events where presentation matters as much as flavor.
The Secret Sprinkle Mix
Mix a pinch of edible glitter with your sprinkles for a subtle shimmer that looks festive without being overpowering. The glitter is sugar‑based, so it won’t melt into the chocolate. I’ve found that a 90/10 ratio of regular sprinkles to glitter gives just the right amount of sparkle for a holiday vibe.
Creative Twists and Variations
This recipe is a playground. Here are some of my favorite ways to switch things up:
Chocolate‑Covered Strawberry Oreo
Swap the white base for dark chocolate and use fresh sliced strawberries as the “sprinkle” layer. The tartness of the strawberry cuts through the richness of the dark chocolate, making a sophisticated bite perfect for a romantic soirée.
Matcha‑Green Mint Dip
Add 1 tsp matcha powder to the white chocolate base and finish with crushed peppermint candy. The earthy green hue pairs beautifully with the red and blue accents for a fresh, spring‑time twist.
S’mores‑Style Oreo
After dipping, roll the cookies in toasted mini marshmallows and crushed graham cracker crumbs. The result is a handheld s’mores that’s perfect for campfire gatherings or a nostalgic dessert bar.
Nutty Caramel Drizzle
Drizzle a thin line of caramel sauce over the finished cookies and sprinkle with chopped toasted almonds. The caramel adds a buttery depth, while the nuts introduce a satisfying crunch.
Spicy Chili Chocolate
Incorporate a pinch of cayenne pepper into the white chocolate base for a subtle heat that awakens the palate. Pair with a side of cool whipped cream to balance the spice—great for adult‑only gatherings.
Storing and Bringing It Back to Life
Fridge Storage
Place the dipped Oreos in a single layer inside an airtight container and store them in the refrigerator for up to five days. The cool environment keeps the chocolate firm and prevents any melt‑down on a warm countertop. Before serving, let them sit at room temperature for 10 minutes so the chocolate softens just enough to bite through easily.
Freezer Friendly
If you need to keep them longer, arrange the cookies on a parchment‑lined tray, freeze for 30 minutes, then transfer to a zip‑top bag. They’ll stay fresh for up to a month. To revive, pop them in the fridge for 15 minutes, then let them warm to room temperature—no sogginess, just crispness.
Best Reheating Method
When the chocolate has lost its snap, a quick 5‑second zap in the microwave (or a 2‑minute warm‑up in a 250°F oven) restores its glossy sheen. Add a tiny splash of water (about 1 teaspoon) to the bowl before microwaving; the steam helps the chocolate regain its fluidity without burning.