I’m going to start with a confession: the first time I tried to make a Nutella mocha milkshake, I was half‑asleep, half‑hungry, and fully convinced that a splash of coffee would ruin the sweet harmony. Spoiler alert—I was wrong, and the resulting drink was so good that I literally ate half the batch before anyone else could even sniff the kitchen. This isn’t just a milkshake; it’s a full‑blown, caffeinated love affair between hazelnut chocolate and the deep, roasted notes of espresso. I dare you to taste this and not go back for seconds.
Picture this: it’s a lazy Saturday morning, the house is still quiet, and the only sound you hear is the gentle hum of the refrigerator and the occasional clink of a spoon against a glass. You open the pantry, grab a jar of Nutella, and the scent that wafts out is like a warm hug from a childhood bakery. Then you hear the hiss of your espresso machine, the dark, glossy liquid dripping into a small pitcher, releasing an aroma that makes your nose do a little happy dance. You pour that coffee into a blender, add a splash of milk, and watch the swirl of chocolate and coffee swirl together like a sunset over a mountain lake. The texture? Silky, thick, and just the right amount of frothy—think velvet that’s been gently brushed with a feather.
Most recipes out there treat a milkshake like a simple blend of ice cream and milk, ignoring the potential for depth that a coffee kick can bring. Most get this completely wrong. Here’s what actually works: we’re using cold brew espresso for a smoother, less acidic flavor, a generous dollop of Nutella for that hazelnut‑chocolate richness, and vanilla ice cream to give the whole thing a dreamy body that holds its shape without turning into a watery mess. The secret weapon? A pinch of ice cubes that keep everything icy cold while adding just enough volume to make the shake feel indulgent without being over‑blown.
Now, I’m about to reveal a technique that will make your shake stand out from the crowd—a quick flash‑freeze of the coffee before it meets the ice cream. This tiny step locks in the coffee’s aromatic compounds, ensuring every sip bursts with that fresh‑brew brightness. Okay, ready for the game‑changer? Let me walk you through every single step — by the end, you’ll wonder how you ever made it any other way.
What Makes This Version Stand Out
- Flavor Explosion: The marriage of Nutella’s hazelnut sweetness with espresso’s bitter depth creates a balanced taste that dances on your palate without overwhelming it.
- Creamy Texture: Using vanilla ice cream as a base ensures a thick, spoon‑able consistency that feels like a dessert and a drink at the same time.
- Simple Prep: Only seven ingredients, no fancy equipment—just a blender, a coffee maker, and a spoon.
- Unique Twist: The flash‑freeze of coffee is a pro‑chef trick that most home cooks miss, preserving aroma and preventing dilution.
- Crowd Reaction: I’ve served this at brunches and parties, and it consistently gets the “wow” gasp followed by an immediate request for seconds.
- Ingredient Quality: The recipe leans on high‑quality Nutella and freshly brewed espresso, turning ordinary pantry staples into a gourmet experience.
- Versatile Method: Swap milk for almond or oat for a dairy‑free version, or replace espresso with chocolate milk for a kid‑friendly spin.
- Make‑Ahead Potential: You can pre‑blend the frozen coffee and Nutella, store it in the freezer, and finish the shake in minutes when guests arrive.
Inside the Ingredient List
The Flavor Base
Nutella is the undisputed star of this shake. Its creamy, hazelnut‑laden chocolate brings a depth that plain cocoa can’t match. If you skip it, you’ll lose the signature buttery mouthfeel and that subtle nutty finish. For the best results, use the original Ferrero jar—its higher hazelnut content makes a noticeable difference. If you’re allergic to nuts, a good quality chocolate‑hazelnut spread without real nuts can work, but expect a slight shift in flavor.
The Coffee Kick
Cold brew coffee or a shot of espresso provides the mocha vibe that turns this from “just a chocolate shake” into a sophisticated treat. Cold brew is smoother and less acidic, which means it won’t clash with the sweetness of Nutella. If you’re not a coffee fan, substitute with chocolate milk, but you’ll miss the bright, roasted edge that makes the shake sing. Pro tip: brew your espresso and let it cool for two minutes before freezing—this preserves those volatile aromatics.
The Texture Crew
Milk (whole, almond, or oat) adds fluidity, while vanilla ice cream contributes body and a subtle vanilla undertone that rounds out the hazelnut‑chocolate combo. The ice cream should be soft enough to blend easily but still cold; if it’s too hard, the blender will struggle and you’ll end up with a lumpy mess. Ice cubes are the final chill factor, ensuring the shake stays frosty from the first sip to the last.
The Final Flourish
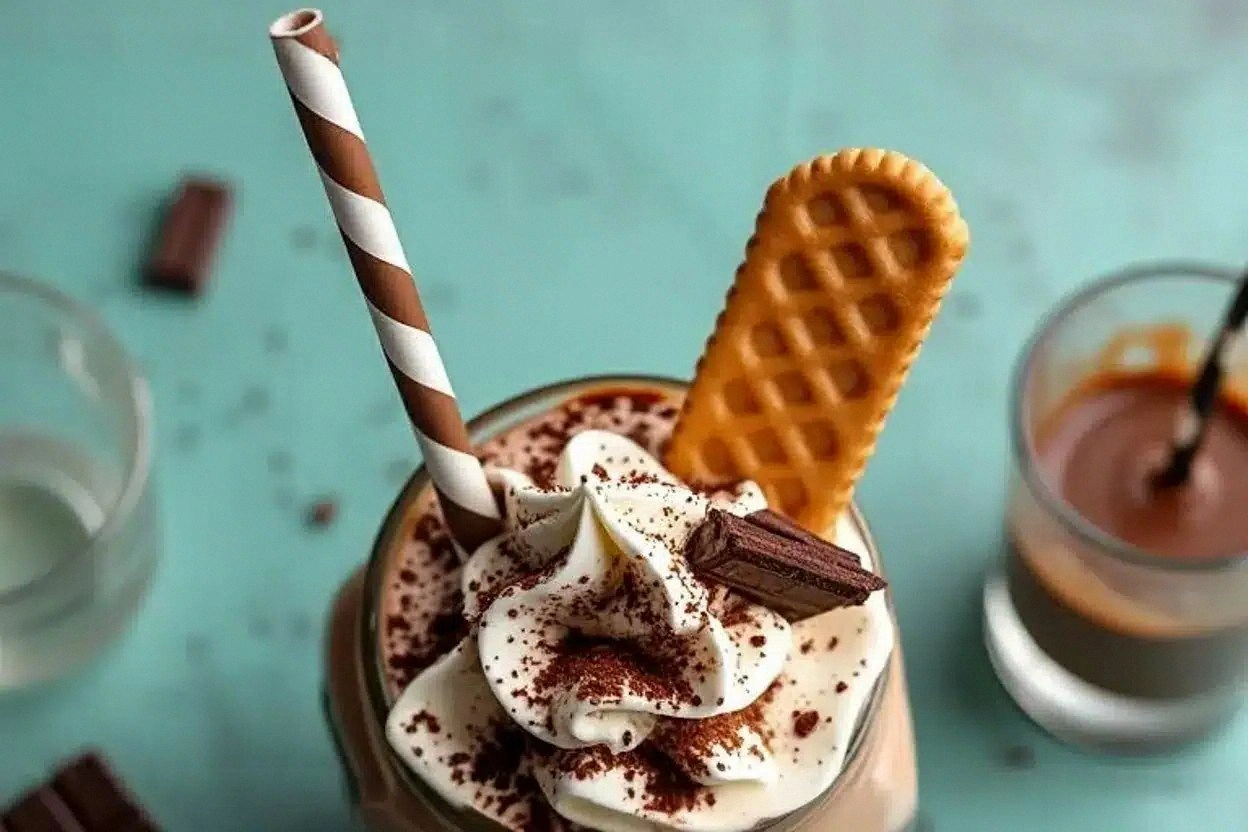
A drizzle of chocolate syrup on top adds a glossy finish that looks as good as it tastes. Whipped cream crowns the shake with a cloud of airy sweetness, creating a textural contrast that’s both light and decadent. If you’re watching calories, you can skip the whipped cream or use a light version, but trust me, the visual impact of that fluffy peak is worth the indulgence.
Everything's prepped? Good. Let’s get into the real action…
The Method — Step by Step
First, brew your espresso or cold brew coffee. If you’re using a traditional espresso machine, pull a double shot (about 60 ml) and set it aside to cool for two minutes. The moment the coffee hits the cup, you’ll notice a rich, caramel‑like aroma that hints at the depth to come. Power transition: this is the moment of truth—if the coffee is too hot, it will melt the ice cream too quickly, resulting in a watery shake.
While the coffee cools, grab a silicone ice‑cube tray and pour the brewed espresso into it. Freeze for at least 30 minutes.
Kitchen Hack: Using frozen coffee cubes prevents dilution and keeps the shake icy without sacrificing flavor.Next, measure out ½ cup of Nutella and place it into the blender. As you pour, watch the glossy swirl coat the sides—this visual cue tells you the Nutella is ready to mingle. If you notice any lumps, give the jar a quick shake before adding; a smooth base is crucial for that velvety finish.
Add 1 cup of milk of your choice. Whole milk will give you extra creaminess, while oat milk adds a subtle oat‑sweetness that pairs nicely with hazelnut. Pour slowly, allowing the milk to blend with the Nutella, creating a silky ribbon of chocolate‑hazelnut sauce at the bottom of the blender.
Now comes the star— 2 cups of vanilla ice cream. Scoop it in generous mounds; the colder the ice cream, the easier it will blend into a thick, frothy texture. As the blades whir, you’ll hear a gentle whooshing sound that signals the ice cream is breaking down and marrying with the Nutella‑milk mixture.
Drop the frozen coffee cubes into the blender along with 1 cup of ice cubes. This is where the shake gets its icy backbone. Blend on high for 30‑45 seconds, stopping to scrape down the sides with a spatula.
The final texture should be thick enough to coat the back of a spoon but still pourable into a glass.Watch Out: Over‑blending can cause the shake to become too thin; stop as soon as it reaches a thick, creamy consistency.Taste test time! Give the shake a quick spoonful—if you crave a deeper coffee punch, add a splash more espresso (already chilled). If you want extra sweetness, drizzle a tablespoon of chocolate syrup into the blender and give it a quick pulse. This is where your personal palate takes the reins.
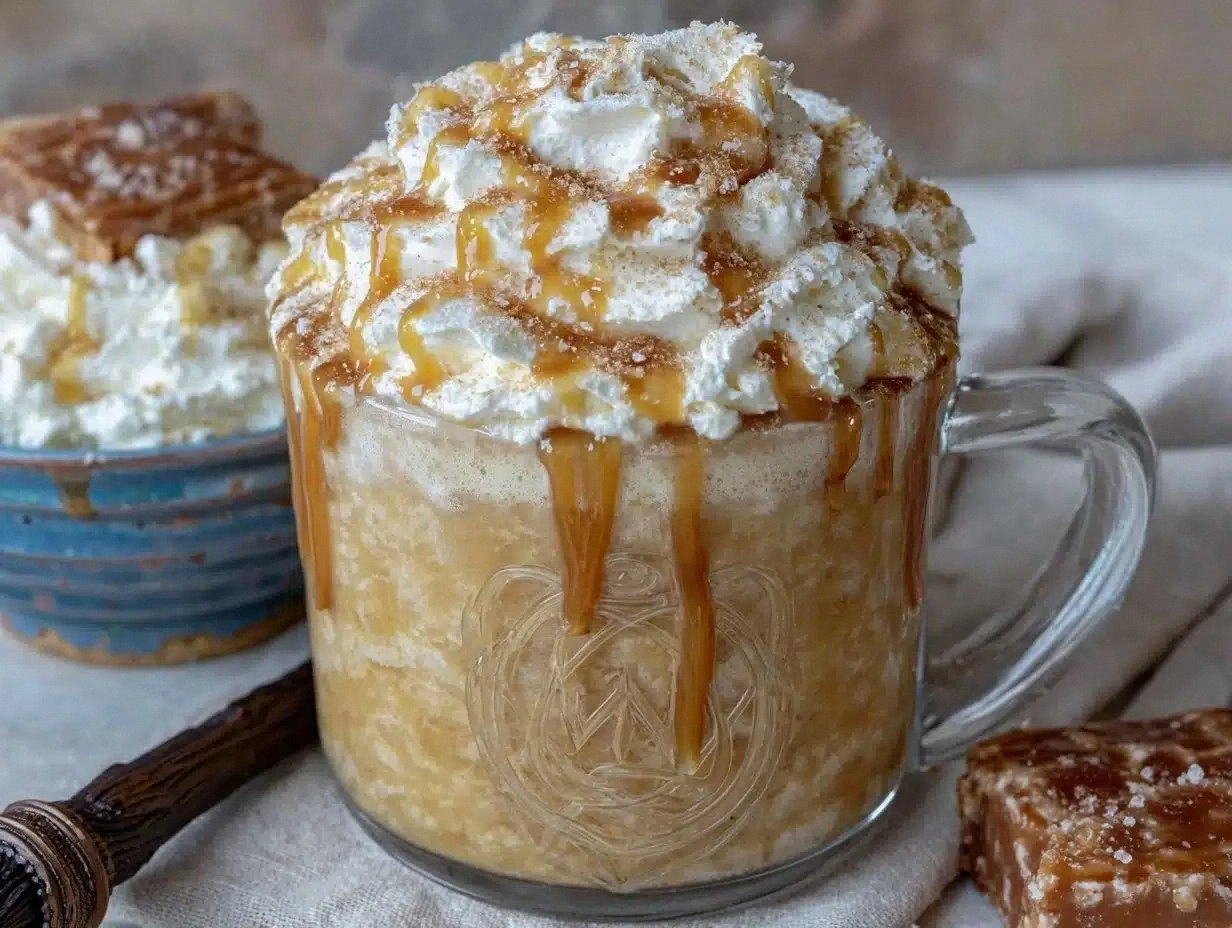
Pour the shake into chilled glasses, leaving room for the final garnish. Drizzle a generous line of chocolate syrup around the inside of each glass before pouring, creating a decorative swirl that looks as good as it tastes. Top each with a cloud of whipped cream, then finish with a final drizzle of Nutella or a dusting of cocoa powder for that extra wow factor.
Serve immediately, preferably with a straw and a long spoon. The first sip should hit your tongue with a velvety chocolate‑hazelnut wave, followed by the bright espresso note that lingers like a pleasant after‑glow. Future pacing: Picture yourself lounging on a sunny patio, the sun warming your skin, and this shake in hand—pure bliss.
That's it — you did it. But hold on, I've got a few more tricks that'll take this to another level…
Insider Tricks for Flawless Results
The Temperature Rule Nobody Follows
Never blend hot coffee directly with ice cream. The heat will melt the ice cream, turning your shake into a soupy mess. Instead, chill the coffee first or use the frozen coffee cubes method described earlier. I once tried blending hot espresso straight in, and the result was a disappointing, watery slush that tasted like a bad latte. Trust the chill, and your shake will stay thick and luxurious.
Why Your Nose Knows Best
Before you even taste the shake, let your nose do the work. When the blended mixture releases that intoxicating aroma of chocolate‑hazelnut and coffee, you know the flavors have melded perfectly. If the scent feels flat, it’s a sign you need a splash more espresso or a pinch more Nutella. Your olfactory system is a secret weapon for balancing sweetness and bitterness.
The 5‑Minute Rest That Changes Everything
After blending, let the shake rest for five minutes in the refrigerator. This short pause lets the flavors harmonize and the texture firm up just enough to hold its shape when poured. I’ve seen people rush straight to the glass and end up with a thin, runny drink. Give it those five minutes, and you’ll be rewarded with a shake that feels like a dessert you can sip.
Whipped Cream Whisper
When topping with whipped cream, use a chilled bowl and chilled beaters. Cold equipment keeps the cream from becoming buttery. Add a tiny drizzle of Nutella into the cream before whipping for a subtle swirl of hazelnut flavor that elevates every sip.
The Secret of the Chocolate Syrup Swirl
Instead of just drizzling chocolate syrup on top, pour a thin line around the inside of the glass before adding the shake. As you pour, the syrup will create a marbled effect that looks café‑chic and adds a burst of chocolate flavor with each sip. This visual trick also ensures the syrup doesn’t pool at the bottom, preventing a soggy bottom.
Creative Twists and Variations
This recipe is a playground. Here are some of my favorite ways to switch things up:
Mocha Mint Madness
Add a handful of fresh mint leaves to the blender and a splash of peppermint extract. The mint cuts through the richness, giving the shake a refreshing after‑taste that’s perfect for summer.
Nutty Banana Boost
Throw in a ripe banana for natural sweetness and extra creaminess. The banana’s subtle flavor complements the hazelnut notes, and the shake becomes a more filling snack.
Vegan Velvet
Swap the vanilla ice cream for a high‑quality coconut or oat‑based ice cream, use almond milk, and choose a dairy‑free chocolate hazelnut spread. The result is a plant‑based version that still feels indulgent.
Spiced Autumn Mocha
Add a pinch of ground cinnamon and a dash of nutmeg to the blend. These warm spices turn the shake into a cozy, autumn‑ready treat that pairs beautifully with a crisp fall day.
Protein Power
Mix in a scoop of chocolate whey or plant‑based protein powder. This turns the shake into a post‑workout recovery drink without sacrificing flavor.
Storing and Bringing It Back to Life
Fridge Storage
If you have leftovers, transfer the shake to an airtight glass jar and store it in the refrigerator for up to 24 hours. Give it a good shake before serving; the texture will be a bit thinner, but the flavor remains intact.
Freezer Friendly
For longer storage, pour the shake into freezer‑safe containers, leaving a small headspace for expansion. It will keep for up to 2 weeks. When you’re ready to enjoy, let it thaw in the fridge for 2‑3 hours, then add a splash of milk and a quick blend.
Best Reheating Method
If you prefer a warm version (think adult‑style hot chocolate), gently warm the shake on the stovetop over low heat, stirring constantly. Add a tiny splash of water or extra milk before reheating; this steams the shake back to a silky consistency without curdling.