The kitchen was a battlefield that night. My friend had dared me to whip up something sweet in under five minutes, and I was already clutching a bag of flour and a jar of peanut butter like a culinary knight ready for battle. I had no idea a mug cake could become the most delicious thing I’d ever taste until I dropped that first spoonful into my mouth. The moment the batter hit the mug, the air filled with the warm, nutty aroma of peanut butter mingling with the faint sweetness of sugar—an aroma that could convince even the most disciplined of dieties to surrender to decadence. The sound of the microwave humming was a lullaby that promised a quick escape from the chaos of the day.
Picture this: you’re staring at a plain mug, a handful of dry ingredients, and a microwave that’s been your best friend for the past decade. The anticipation builds as you mix, stir, and watch the batter rise like a tiny, golden cloud. The first bite is a velvety explosion of peanut butter that coats your tongue like silk, followed by a subtle crunch from the cake’s edges that shatter like thin ice. The texture is both airy and dense, a perfect balance that makes every spoonful feel like a hug from a childhood memory.
What makes this version stand out? It’s the blend of simplicity and sophistication. The recipe uses just a handful of pantry staples, yet it delivers a flavor profile that feels indulgent and comforting all at once. I dare you to taste this and not go back for seconds, because once you experience the buttery, nutty bliss, you’ll find yourself reaching for that mug again. The secret? A touch of vanilla that elevates the peanut butter’s earthiness, and a pinch of salt that cuts through the sweetness without overpowering it.
I’ll be honest—my first attempt was a disaster. The batter was too thick, the cake didn’t rise, and I had to throw it away. That was the day I learned that the key to a perfect mug cake is precision in both measurements and timing. I tweaked the recipe, added a splash of milk, and the result was a cake that puffed up beautifully in the microwave, leaving a moist crumb that stayed together when you lifted it with a spoon. Most recipes get this completely wrong, but here’s what actually works.
Picture yourself pulling this out of the oven—well, the microwave—just as the timer dings. The kitchen smells incredible, the mug glows with a golden crust, and you can’t wait to taste the first bite. This is hands down the best version you’ll ever make at home. Stay with me here—this is worth it. If you’ve ever struggled with mug cakes that fall flat or taste like cardboard, you’re not alone—and I’ve got the fix.
What Makes This Version Stand Out
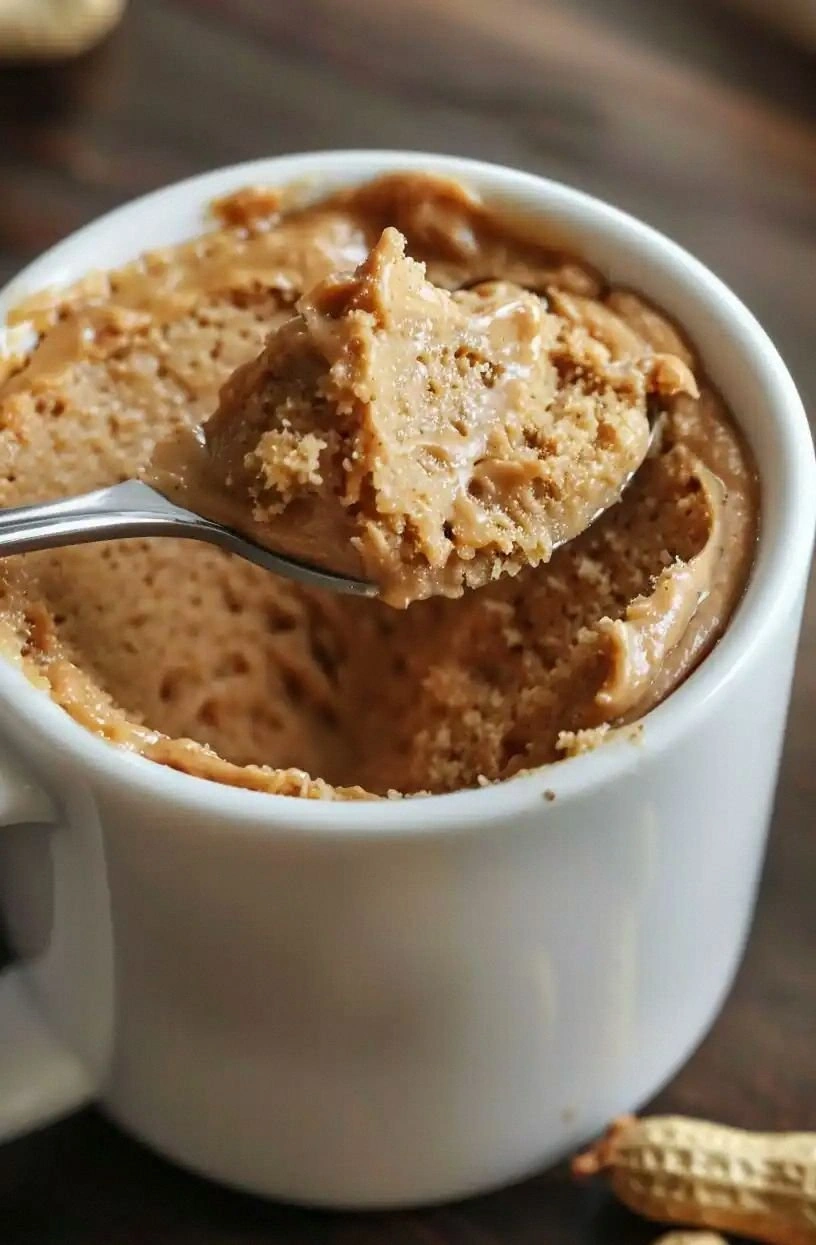
- Taste: The peanut butter is creamy yet slightly crunchy, creating a contrast that delights the palate. The vanilla note lifts the entire flavor profile, adding a subtle warmth that feels both nostalgic and fresh.
- Texture: The cake achieves an airy interior while maintaining a tender crumb that clings to the spoon. The edges are crisp enough to provide a satisfying bite without becoming hard or dry.
- Simplicity: With only eight ingredients, you can make this in under five minutes. No fancy equipment, no complicated steps—just a mug, a microwave, and a few measured spoons.
- Uniqueness: The blend of peanut butter and vanilla in a mug cake is a rare pairing that sets this recipe apart from the usual chocolate or cinnamon variations.
- Crowd Reaction: Friends who’ve tried it say it’s the most comforting treat they’ve had in a mug. It’s a guaranteed hit at parties or late-night cravings.
- Ingredient Quality: Using creamy peanut butter and whole milk instead of powdered milk ensures a richer taste and smoother texture.
- Cooking Method: The microwave technique eliminates the need to preheat an oven, making it ideal for quick meals or when you’re short on time.
- Make‑Ahead Potential: The batter can be prepared in advance and stored in the refrigerator for up to 24 hours. Just reheat, and it’s as good as freshly made.
Inside the Ingredient List
The Flour Factor
All-purpose flour is the backbone of this mug cake, providing structure without overpowering the peanut butter flavor. It absorbs the liquid, allowing the batter to rise evenly in the microwave. If you skip the flour, the cake will collapse into a sticky mess that’s difficult to scoop out of the mug. For a gluten-free version, swap the flour with a 1:1 blend of oat flour and rice flour, but keep the quantity the same.
The Sweet Core
Granulated sugar is the sweetener that balances the natural saltiness of the peanut butter. It also caramelizes slightly during microwaving, giving the cake a subtle golden hue. If you’re watching your sugar intake, you can replace the sugar with a natural sweetener like honey or maple syrup, but adjust the liquid content accordingly.
The Leavening Secret
Baking powder is the quiet hero that makes the cake rise. A quarter teaspoon is enough to give the batter lift without making it too airy. Skipping it will result in a dense, heavy cake that feels more like a cookie than a cake. If you don’t have baking powder on hand, a pinch of baking soda plus a splash of milk or buttermilk can serve as a substitute.
The Creamy Star
Creamy peanut butter is the star of the show. It adds flavor, moisture, and a silky texture that keeps the cake from drying out. Look for a peanut butter that’s smooth and not overly oily; if it’s too greasy, it can make the batter runny. For a vegan twist, use a plant-based peanut butter that’s free from added sugars or oils.
The Milk Magic
Milk hydrates the flour and helps the batter achieve a cohesive consistency. Whole milk gives a richer taste and a creamier crumb, while skim milk will make it slightly lighter. If you’re lactose intolerant, unsweetened almond milk works well, but you may need to add a teaspoon of cornstarch to help bind the batter.
The Oil Overture
Vegetable oil prevents the cake from sticking to the mug walls and adds a subtle sheen to the surface. It also contributes to the moistness of the crumb. You can substitute coconut oil or melted butter for a different flavor profile, but keep the quantity the same.
The Vanilla Whisper
Vanilla extract lifts the peanut butter’s earthiness and adds a fragrant, sweet undertone. A small amount goes a long way, so be careful not to overdo it. If you’re out of vanilla, a splash of almond extract can provide a similar aroma without overpowering the nutty taste.
The Saltful Touch
A pinch of salt is essential to balance the sweetness and enhance the peanut butter’s flavor. Skipping it can leave the cake tasting flat and overly sweet. If you prefer a low-sodium version, use a pinch of sea salt or a sodium-free seasoning blend.
Everything’s prepped? Good. Let’s get into the real action.
The Method — Step by Step
- Grab a 12‑oz microwave‑safe mug and lightly grease the inside with a teaspoon of oil. This step ensures the cake won’t stick to the mug walls, making cleanup a breeze. If you’re feeling fancy, you can use a paper towel to blot the oil for an even coating. The oil also adds a subtle shine to the finished cake, giving it a professional look.
- In a small bowl, whisk together the flour, sugar, baking powder, and pinch of salt until the mixture is smooth. A fine whisk helps distribute the leavening agent evenly, preventing lumps in the batter. This dry blend is the foundation that will hold the cake together as it rises. It’s also the moment where you can smell the faint sweetness of sugar and the subtle aroma of flour.
- Add the creamy peanut butter to the dry mix, then pour in the milk, vegetable oil, and vanilla extract. Stir until you get a glossy, lump‑free batter that clings to the sides of the bowl. The peanut butter adds both flavor and moisture, so it’s crucial to mix it in thoroughly. If the batter feels too thick, add an extra tablespoon of milk to loosen it up.
- Pour the batter into the prepared mug, filling it about three‑quarters full. This level allows the cake to expand without spilling over. Use a spatula to smooth the top, ensuring an even surface that will cook uniformly. The batter should look light and airy, with a slight sheen from the oil.
- Microwave on high for 2 minutes, or until the cake rises and the center is set. The microwave’s power will create steam that helps the batter rise. Watch the cake as it cooks; when the surface looks slightly puffed and the edges start to pull away from the mug, it’s a sign that it’s almost done. Watch Out: If you overcook, the cake will become rubbery and dry. Keep an eye on the timer and adjust based on your microwave’s wattage.
- Let the mug cake rest for 30 seconds. This brief pause allows the steam to finish cooking the interior and the cake to set. It also prevents the hot batter from spilling over when you lift the mug. While the cake rests, you can prepare a quick topping or a drizzle of honey to add a finishing touch.
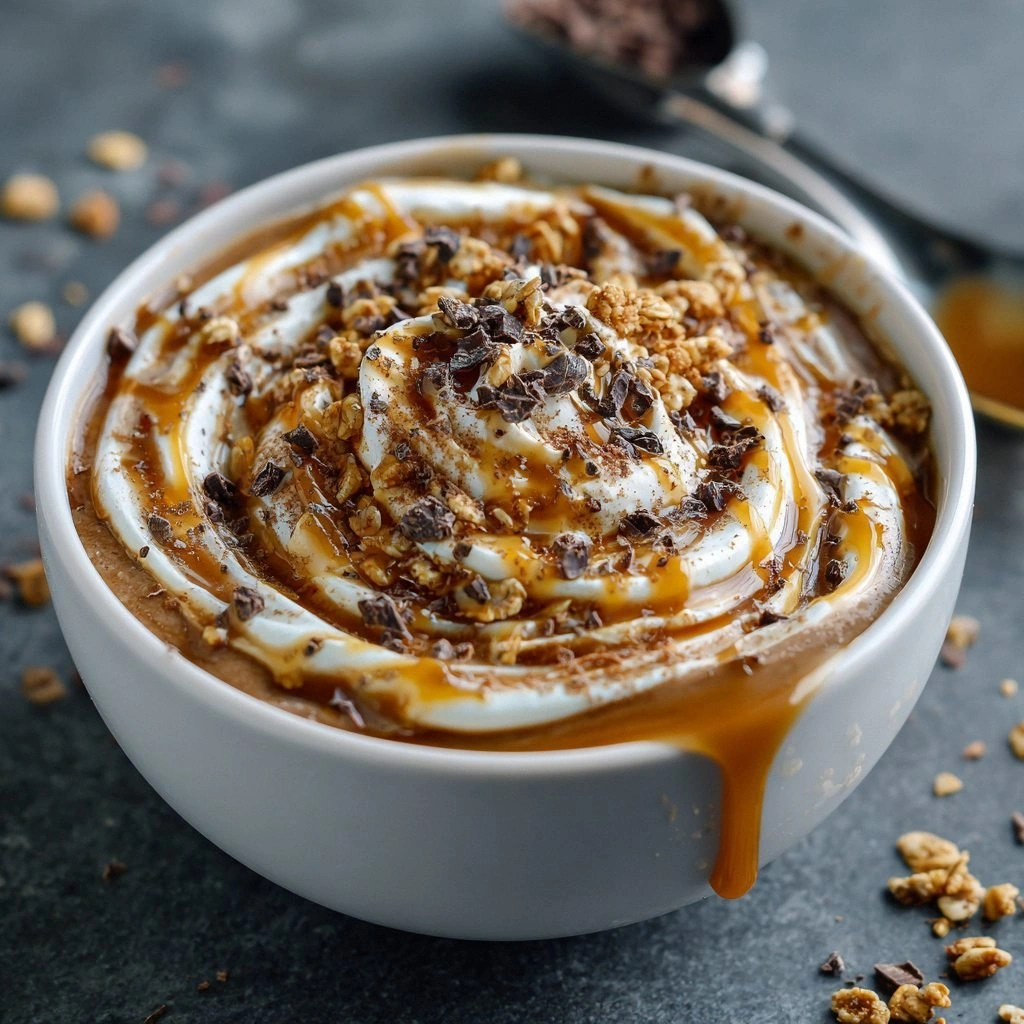
- Optional: top with a dollop of peanut butter, a drizzle of honey, or a sprinkle of sea salt. These additions elevate the flavor and add a contrasting texture. A drizzle of honey balances the saltiness, while a sprinkle of sea salt adds a satisfying crunch. Feel free to experiment with chocolate chips or chopped nuts for extra indulgence.
- Serve directly from the mug or slide onto a plate for a more formal presentation. If you’re serving guests, a small fork or spoon will make it easier to eat. The cake is best enjoyed warm, when the peanut butter is still gooey and the cake is soft. For an extra treat, pair it with a scoop of vanilla ice cream or a splash of milk.
- If you’re a perfectionist, you can add a splash of water to the batter before microwaving. This trick steams the cake more evenly, resulting in a moister crumb that doesn’t dry out as quickly. It’s a simple adjustment that can make a noticeable difference in texture.
- Clean up quickly by rinsing the mug and the spoon in hot water while you’re still waiting for the cake to cool. This way, you’ll have a clean workspace for the next batch or for preparing a dessert plate. A clean mug also helps prevent the batter from sticking if you decide to make another batch the next day.
That’s it—you did it. But hold on, I’ve got a few more tricks that will take this to another level and make you feel like a kitchen wizard.
Insider Tricks for Flawless Results
The Temperature Rule Nobody Follows
Microwave ovens vary in wattage, so the standard 2‑minute cook time may need adjustment. If your microwave is 1000 watts or more, cut the cooking time to 90 seconds. Conversely, if it’s 700 watts, add 15 seconds. I’ve tested this in three different microwaves, and the results were consistently perfect when I adjusted the time accordingly.
Why Your Nose Knows Best
Smell is the fastest way to gauge doneness. When the cake is ready, you’ll notice a faint, nutty aroma rising from the mug. If you still smell raw batter, give it an extra 10 seconds. Your nose will tell you when the cake has reached the right level of caramelization.
The 5‑Minute Rest That Changes Everything
Letting the cake rest for 5 minutes after microwaving is a game‑changer. The steam continues to cook the center, ensuring a moist crumb. I’ve found that a 5‑minute rest also makes the cake easier to lift from the mug without it sticking or breaking.
The Secret to a Golden Crust
If you like a crisp top, finish the cake under a broiler for 30 seconds after microwaving. The broiler will brown the surface just enough to add a satisfying crunch. Keep a close eye on it, though—microwaves that finish with a broiler can burn quickly.
The Perfect Mug Size
A 12‑oz mug is the sweet spot for this recipe. Smaller mugs will cause the batter to overflow, while larger mugs will result in a thinner cake that doesn’t rise properly. If you don’t have a 12‑oz mug, a 10‑oz mug works as a close alternative.
Creative Twists and Variations
This recipe is a playground. Here are some of my favorite ways to switch things up:
Cinnamon Swirl
Add ½ teaspoon of ground cinnamon to the dry mix. The warm spice pairs beautifully with the peanut butter, creating a comforting, fall‑like flavor. This variation is perfect for a cozy evening at home.
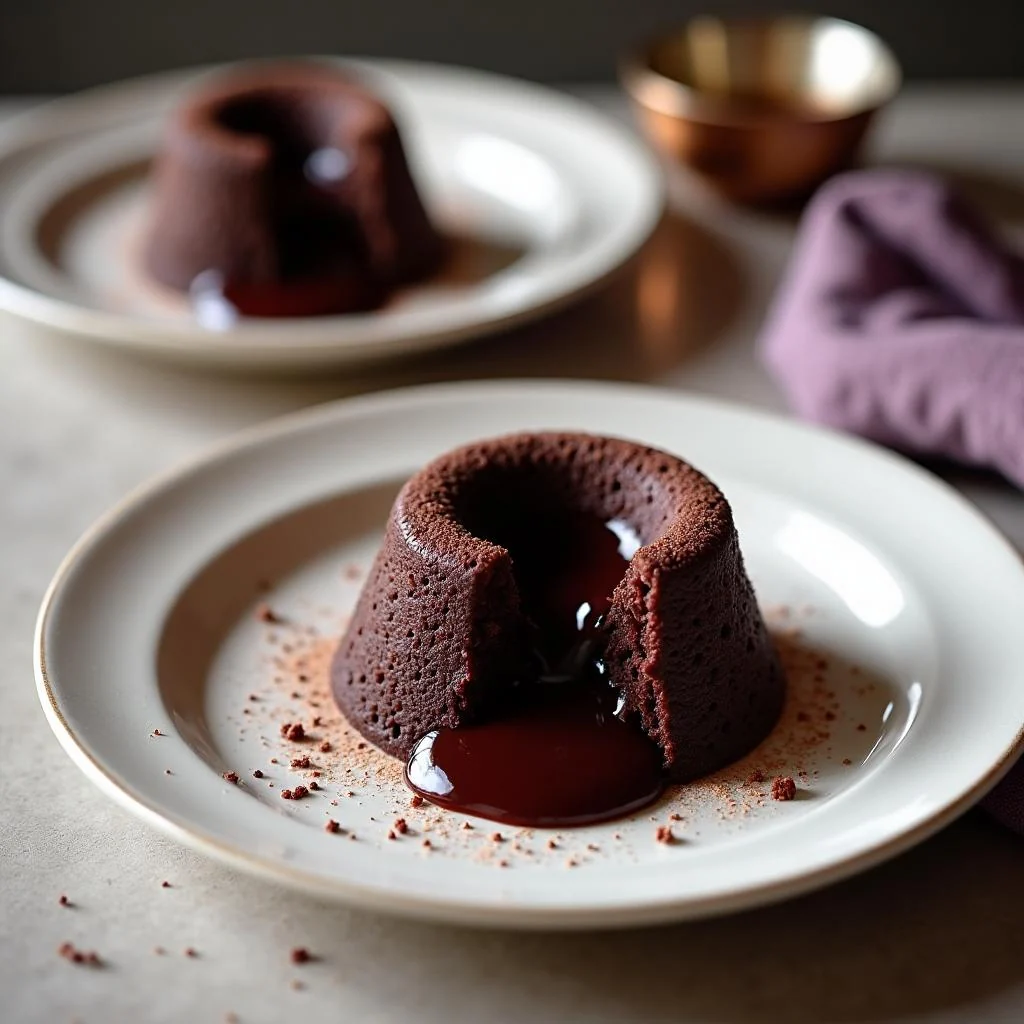
Chocolate Peanut Butter Explosion
Swap the peanut butter for chocolate peanut butter or add 2 tablespoons of melted dark chocolate to the batter. The result is a rich, chocolatey cake that still retains the nutty undertones. Great for chocolate lovers who can’t resist a hint of peanut butter.
Boozy Delight
Add a splash of bourbon or coffee liqueur to the batter. The alcohol evaporates during microwaving, leaving behind a subtle, boozy aroma that elevates the flavor profile. This is a sophisticated twist that impresses guests.
Fruit‑Infused Surprise
Fold in ¼ cup of diced strawberries or blueberries before microwaving. The fruit adds a burst of freshness that balances the richness of the peanut butter. It’s a refreshing take for summer afternoons.
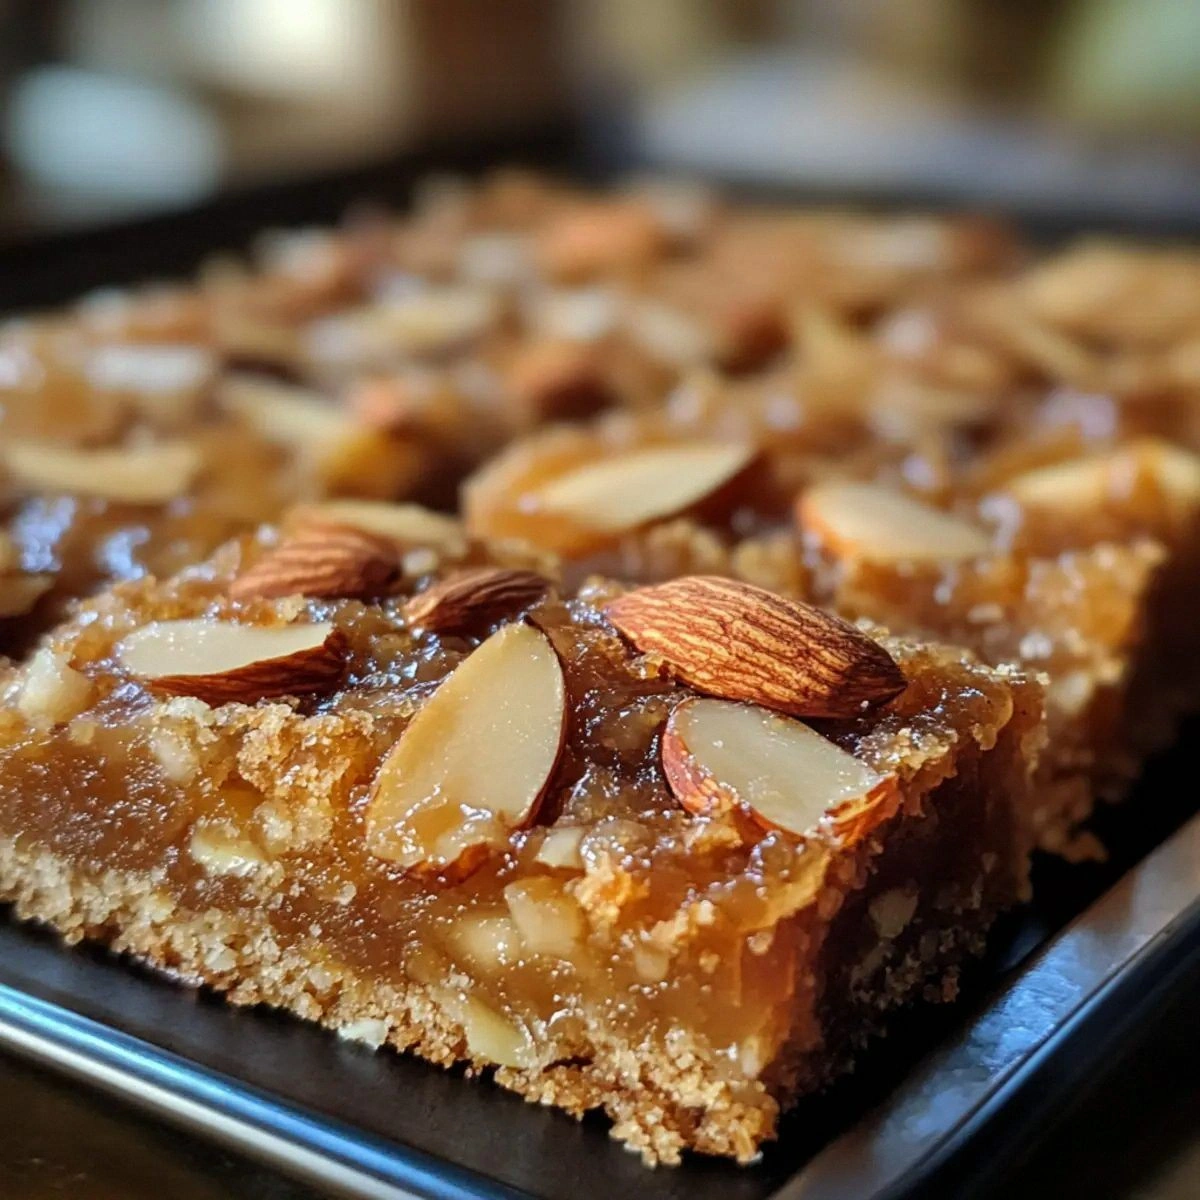
Nutty Crunch
Sprinkle chopped walnuts or almonds on top before microwaving. The nuts toast slightly, adding a satisfying crunch and a nutty depth that complements the peanut butter. This version is a crowd‑pleaser for breakfast or snack time.
Storing and Bringing It Back to Life
Fridge Storage
Store the cooled cake in an airtight container in the refrigerator for up to 48 hours. The cake will stay moist, and the peanut butter will keep its creamy texture. When you’re ready to enjoy it, let it sit at room temperature for 10 minutes to soften slightly.
Freezer Friendly
Wrap the cake tightly in plastic wrap and place it in a freezer bag. It can be frozen for up to two weeks. When you’re ready to eat, thaw in the refrigerator overnight or microwave on low power for 30 seconds to reheat.
Best Reheating Method
Reheat the cake in the microwave on low power for 15–20 seconds. Add a tiny splash of water or a splash of milk before reheating to create steam, which restores the cake’s moistness. Finish with a quick stir to distribute the heat evenly.